Patrick, I turned on the scroll bars, and I am using the alt + tab toggle - thanks. I keep finding what i think are new items in the settings. I keep tweaking the appearance. With my bad eyes, one larger font increment would help. I saw the “scale” option, but that usually pushes things out of their dialogs - in my experience - so I did not try that. Mustard yellow at 75% for highlight seems best for my eyes. Thank you for the reworked buttons. Bright parts of the UI produce something akin to veiling flare in a camera lens.
This is in 0.9.55.2. By the time I finished you had released 0.9.55.3 I set out to turn off some areas - specifically, the metadata and ratings. You had aleady put on/off switches in the top right corner. It gives more real estate to the editor (good option). Next, I tried out the “repair brush” - I tried to find the remove objects tool but failed. Was hoping it might work a bit like content aware fill in Ps. I have already downloaded the models. Is it active and I just am missing it?
Last, Are there plans to be able to copy adjustments from one photo and paste to a different photo? In Lr, and many years earlier in Bridge (CS1 & Bridge v1) had a crude ACR module. You made your adjustments on one image and clicked “done”. A little widget would appear on the thumbnail in Bridge browser/viewer (later Lr) - you would right click the widget and choose “Copy settings” - then still in the browser You could select similarly lit photos (that was my criteria) - right click again and choose “paste settings”. You never open any more raw files, but you apply adjustments to all of them sometimes hundreds. Once the thumbnails update and you are happy with the result - you can export a copy to make a hard copy of that edit. It saves so much time.
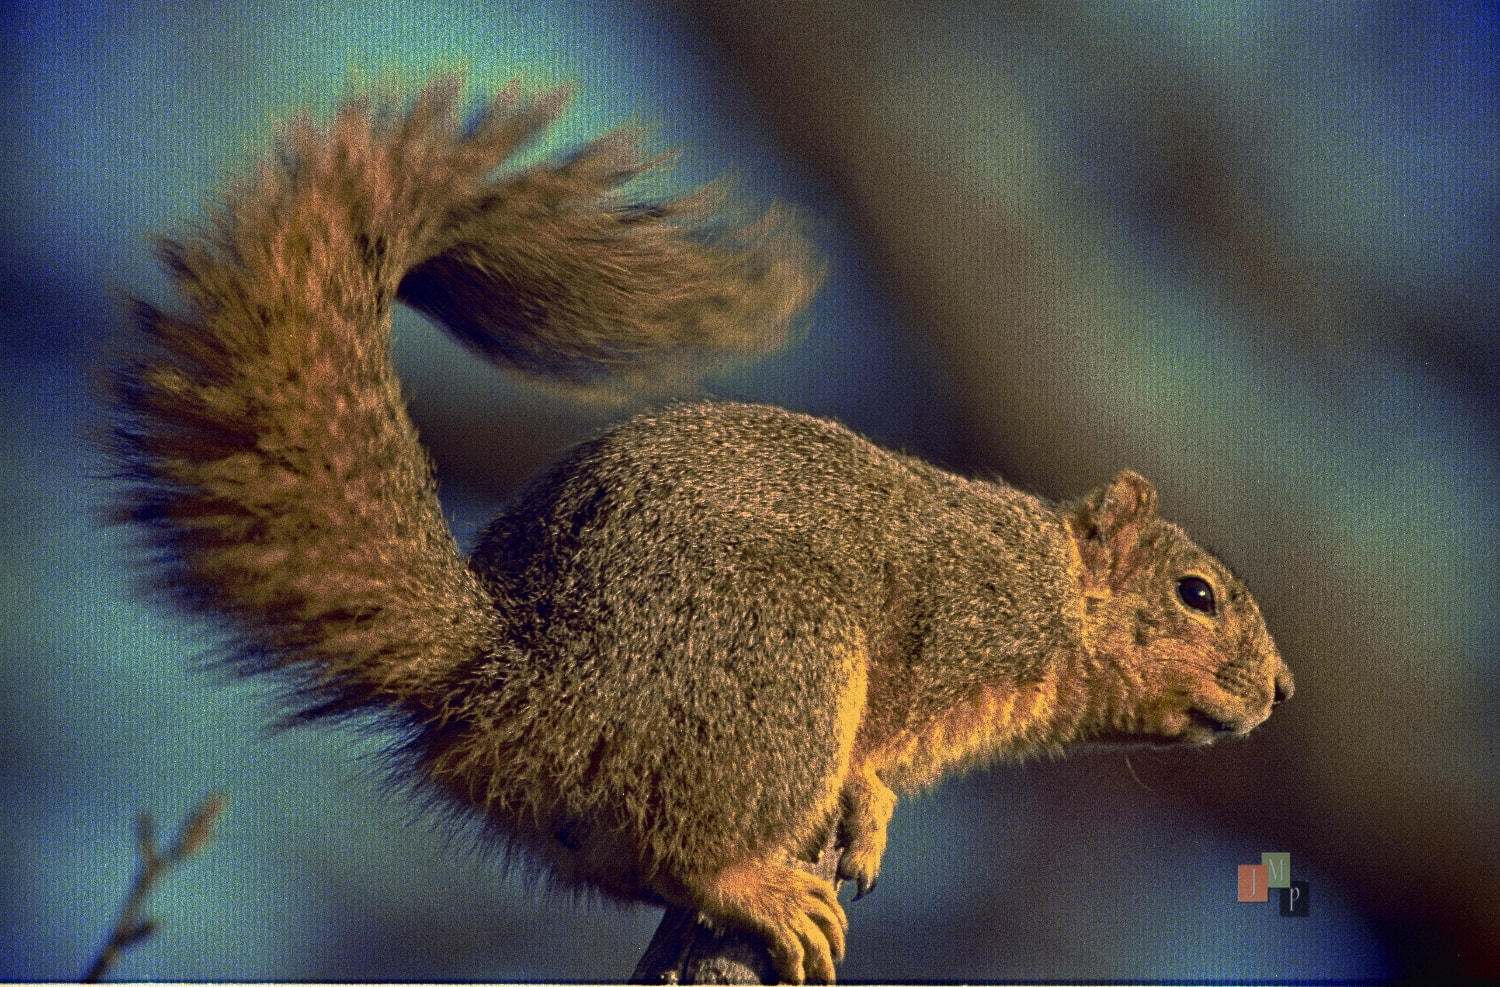
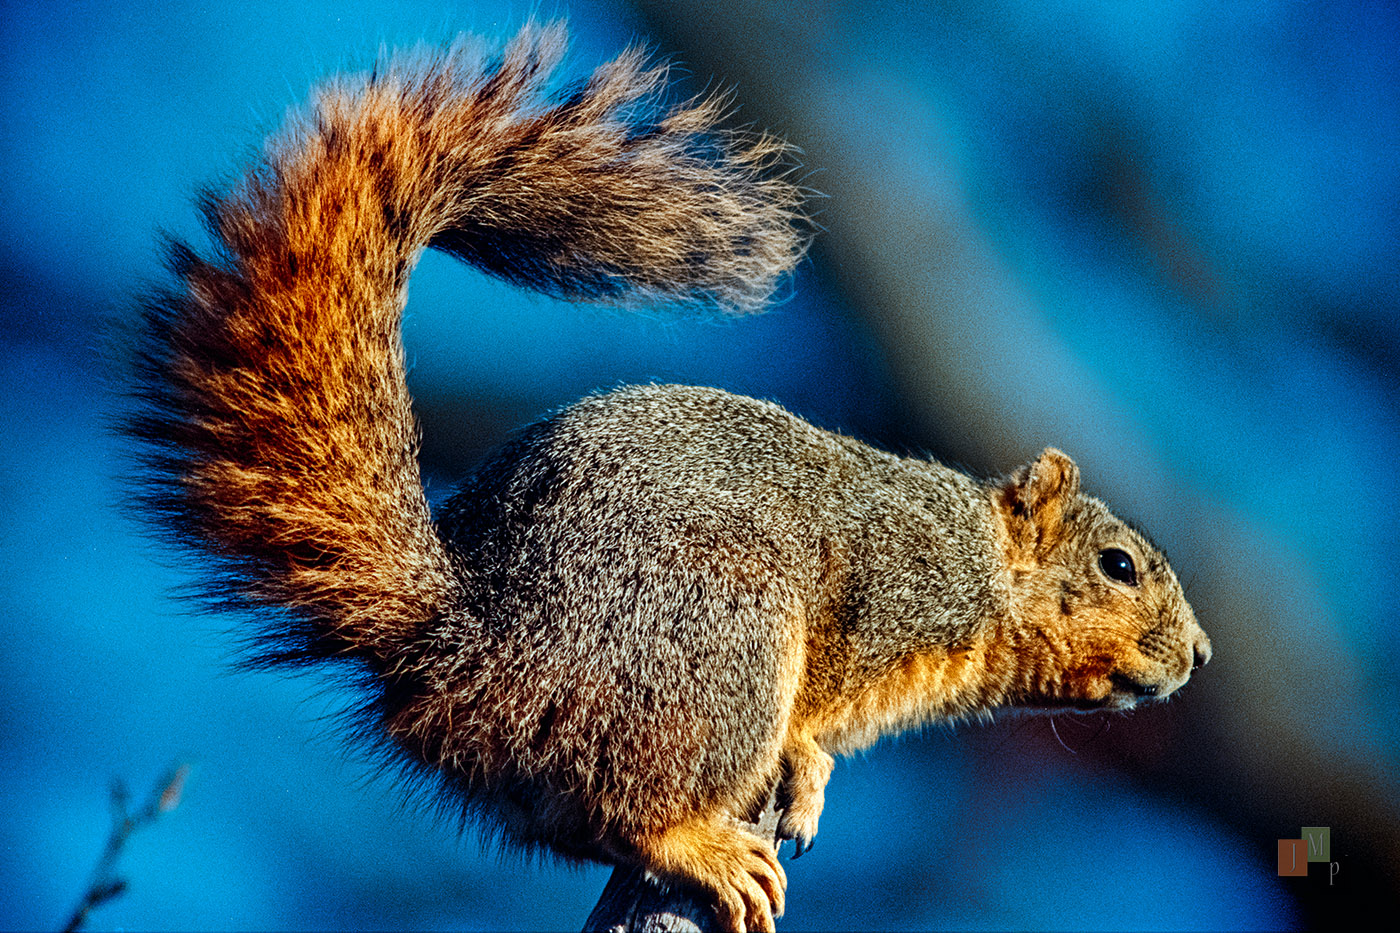
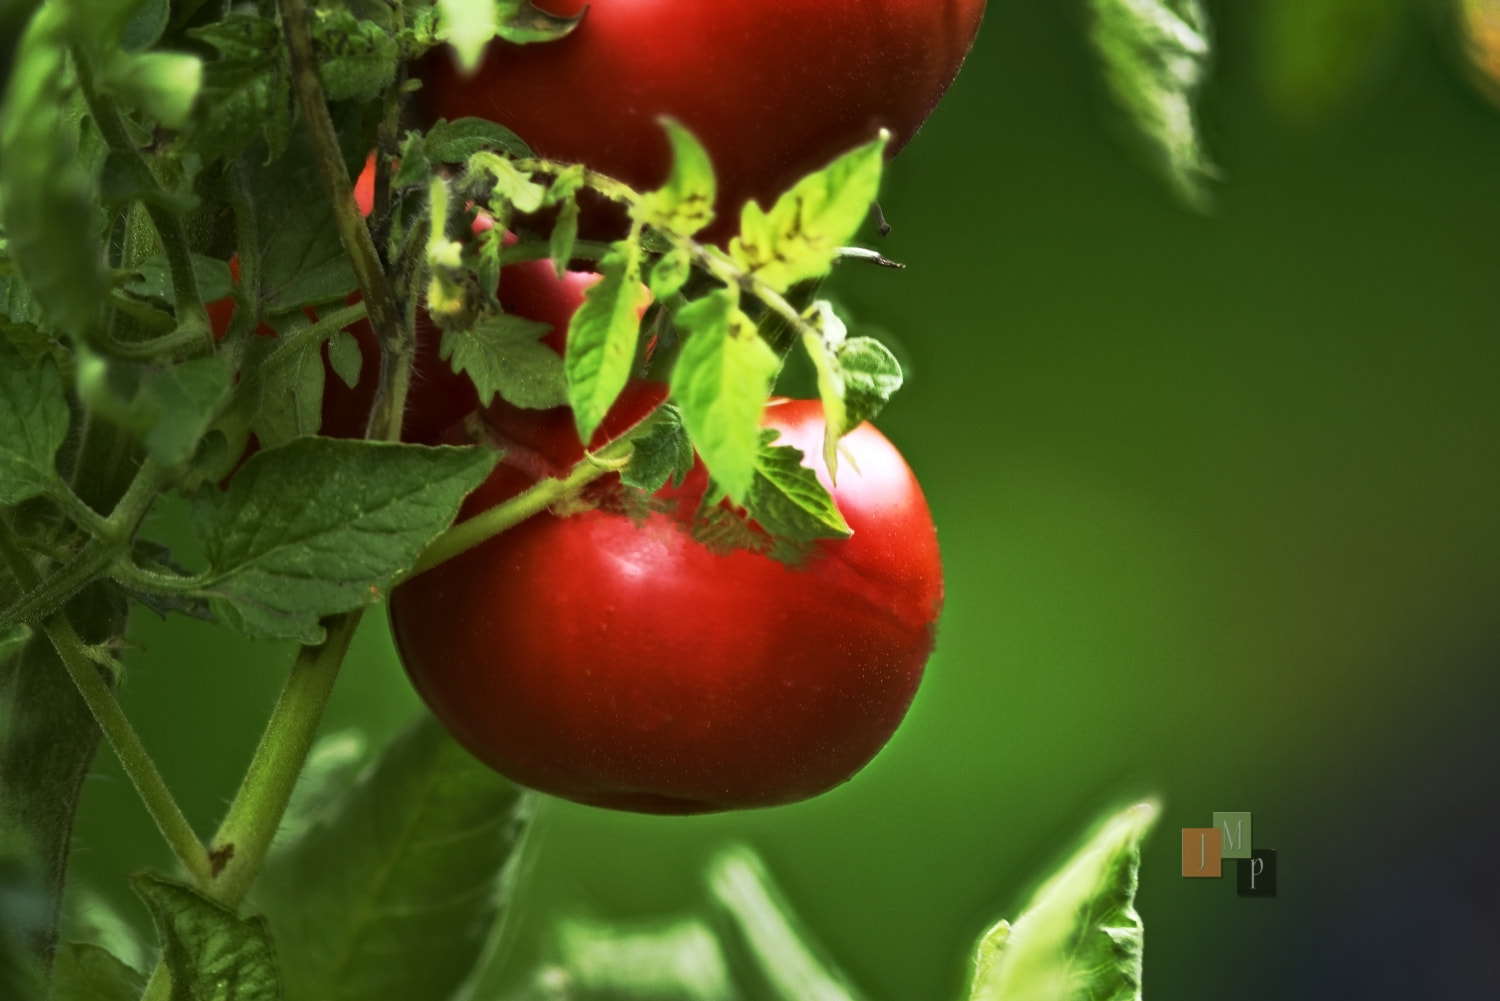
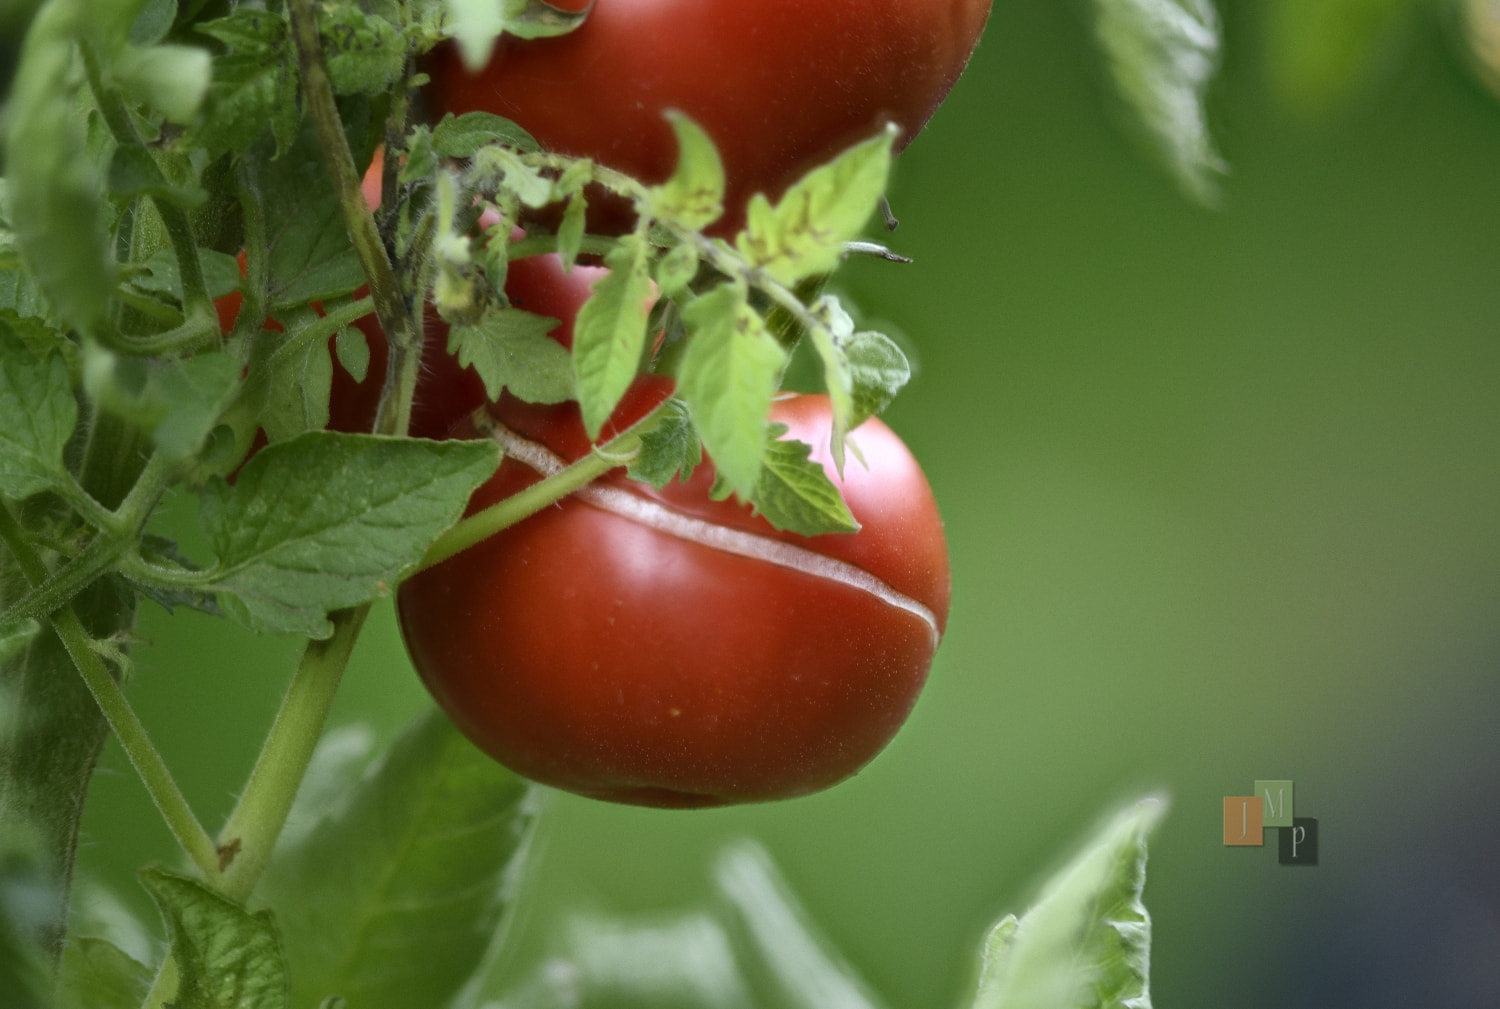
Repair brush + edit, and then a straight from raw version, both cropped
good to hear the scroll bar helps. By the way, the tool switching is CTRL+TAB, not ALT+TAB, but it sounds like you found it anyway.
For the font: there is a separate setting for that under Appearance, apart from the scale. It makes the text bigger step by step and leaves the rest of the layout alone, so give it a try first. If something gets cut off at a bigger size, a screenshot would help me a lot.
Remove object is there, it just doesn’t sit with the brushes. You’ll find it at the bottom of both the Selection tool and the Mask tool. You mark what should go away first, and the button only lights up after that, so without a mark it stays grey. That’s why you didn’t spot it. The quickest way is in the masks: choose the object tool and click the thing you want gone, and the mask draws itself. Then hit Remove object. You can also paint the mark with the brush or pick it by distance with the depth mask. It works a lot like content aware fill: the marked area disappears and the background carries on. Your models are already downloaded, so it should work right away. Activate also the GPU Slider for the models.
The healing brush got some work for the next version too. I wasn’t happy with it yet myself: on smooth areas like a clear sky or a soft background, it could leave a slightly darker or lighter patch with a visible edge. Now the repair takes on the brightness of its surroundings, so it should blend in much better. Your macro shot is exactly the kind of picture where you’ll notice it.
Copying settings: part of it is already there. In the editor you can copy the adjustments of one picture and paste them onto another one, and the copy survives switching pictures and even a restart. For a whole series you can save your adjustments as your own preset. In the gallery, select the pictures and use Apply filter or Export to, and pick that preset there. Any edits the pictures already have stay, and the preset goes on top. The catch is that for raw files this always writes new files in one of the export formats. It doesn’t just update the edits on the raws themselves, the way you know it from Bridge and Lightroom. I get why that saves so much time with a series in the same light, and I’m going to look into it.
The German layer name and the pasted copies that ended up in the wrong place are both fixed for the next version.
Nice detail in the macro shot, the repaired one looks clean!
I used it to put text and a graphic on my grandson’s senior picture. His name, graduation year (2027) and high school logo. That worked well. I did some adjusting of the photo but not a lot, i need to play with that more.
quick follow-up: 0.9.56 is out , with quite a few improvements around RAW development, lens correction, masks and the editor workflow.
RAW & lens correction
Manual chromatic aberration correction is now available with Red/Cyan and Blue/Yellow controls, useful when a lens profile does not fully remove color fringes.
RAW development is noticeably faster, and dragging lens-correction controls no longer redevelops the full image on every step.
Canon Highlight Tone Priority and Fujifilm DR200/DR400 files now start at the intended exposure.
Several newer cameras now get better default colour/brightness handling, including recent Canon, Nikon, Fujifilm, OM System, Panasonic and Samsung models.
Masks, retouching & selections
Color and luminance range masks respond much faster while refining them.
Feathering is now visible directly in the mask overlay and mask-only view.
The healing brush blends much better into smooth areas such as skies and no longer leaves obvious brightness patches.
Brushes and retouch tools can now go up to 2000 px for large, soft strokes on high-resolution images.
Editor workflow
Compact adjustments mode can combine Adjust, Color, Details, Effects and Filter into one panel. Groups can auto-collapse, stay open, be reordered or hidden.
Ctrl+Tab / Ctrl+Shift+Tab can cycle through editor tools, with optional navigation buttons at the bottom of the panel.
Crop aspect ratios now stay locked properly while dragging or typing dimensions.
The adjustment panel scrollbar can be kept permanently visible.
Editor settings have been reorganized into clearer sections.
Batch & gallery
Apply filter has been renamed to Apply adjustments , because it can now apply presets, LUTs and saved adjustments as well.
It can also apply edits to RAW and Photoshop files without touching the originals, the changes go into their edit data/sidecars.
Guten Abend Patrick,
The “Scale” slider did the trick. I had worried it would scale the UI as well. I used the masking tool and remove object tool. That masking tool is really slick, but the remove object went through the motions , and left it unchanged. In settings it calls my graphics card “unknown”, and something about “Vulcan” which I think is the Linux graphics driver. The computer is intel 14700K based (8 GPU cores) + there is a Nvidia 1080 GTX shoehorned in there. So, it is confusing. Tried to install the Nvidia driver, and it seems Linux Mint 22.3 in a VM doesn’t like that. That is my guess - not FerrumPix issue, but how I am running it.
Noticed: v0.9.56-5
-Thumbnails in film strip all appear as horizontal images. Aspect ratio is being distorted.
-I couldn’t find grayscale mode
-I couldn’t find “Export” - wanted to see what was in that module - like changing format, rename, etc
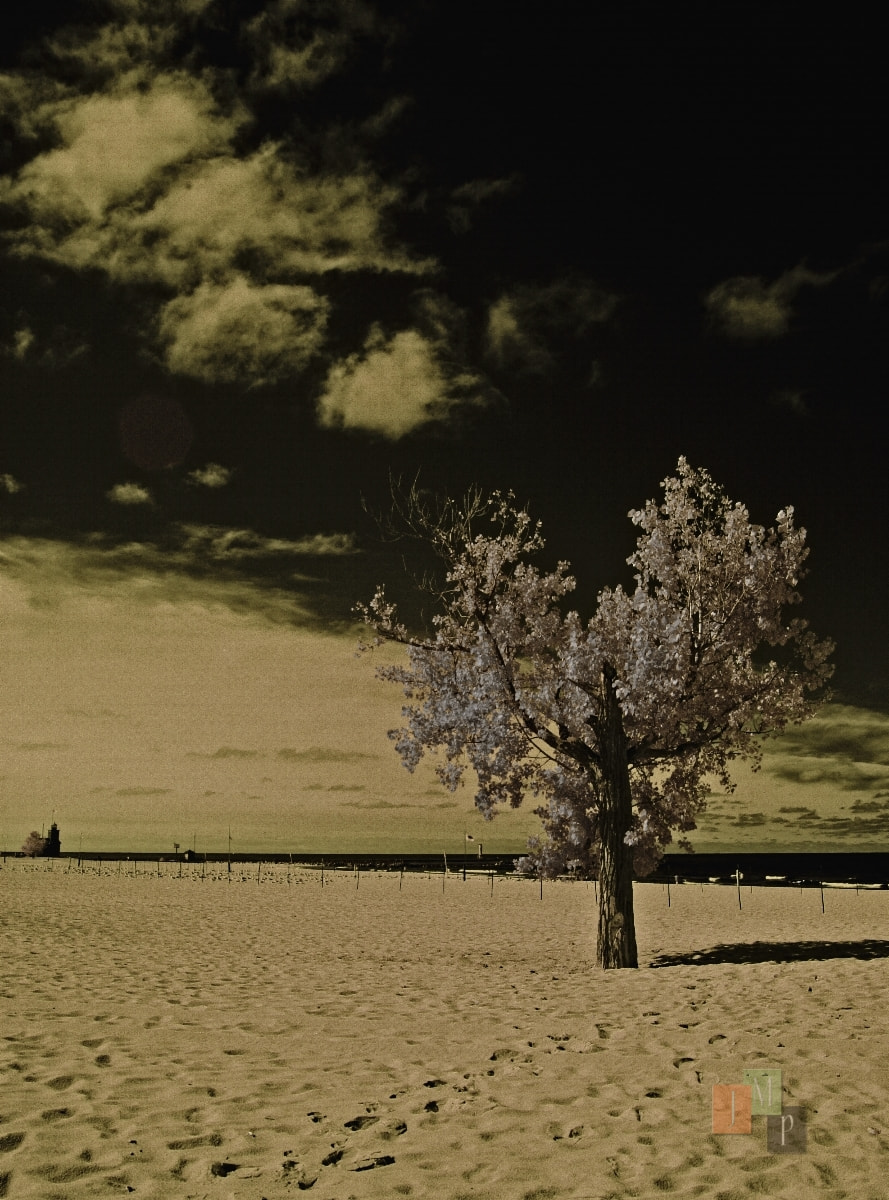
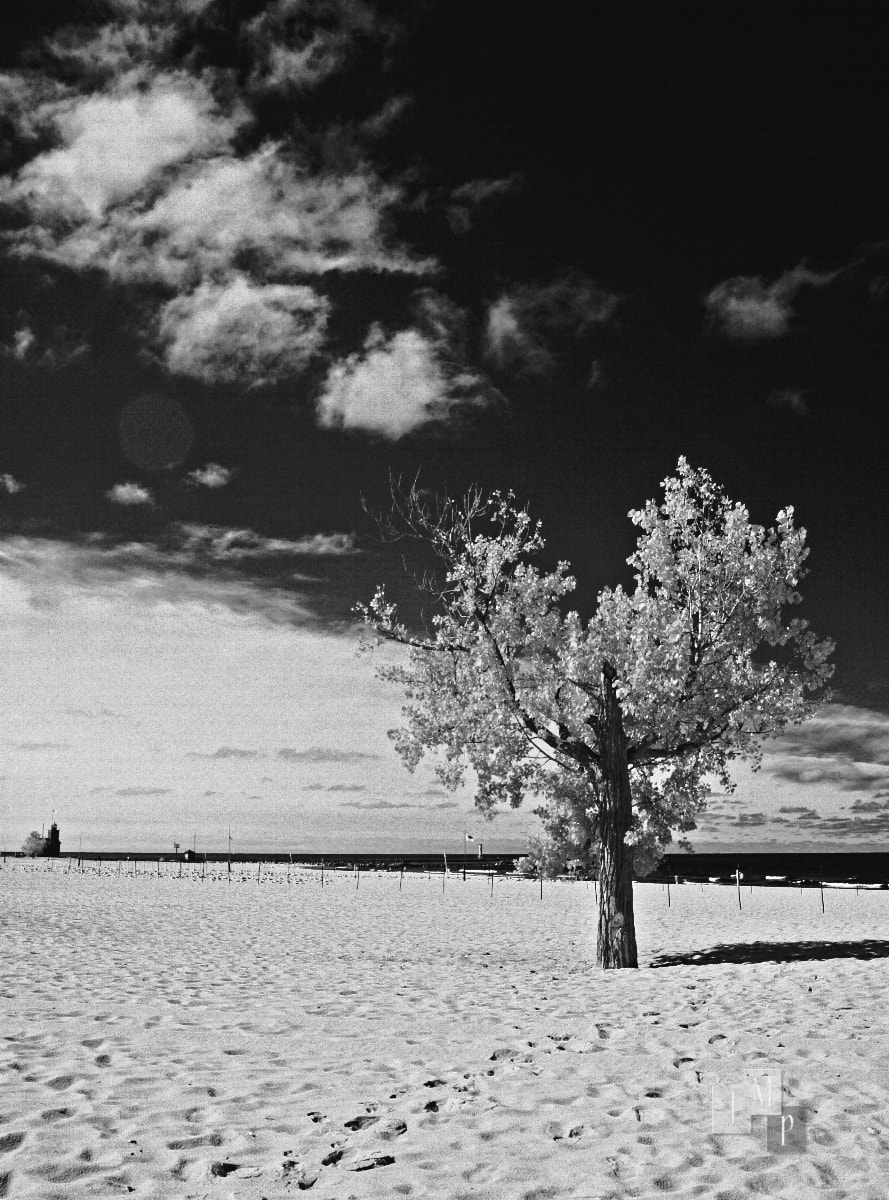
So, for today’s imaging I did a infrared conversion - both colour, and as close to grayscale as I could get. I like the results. Canon 5D Mark II converted to 665nm, Nikkor 28mm f2.8 ais manual focus lens. Thank you again for solving so many GUI problems, and creating a wonderful image editor.
Jim
About Remove Object: I’d like to see why it didn’t change the image on your side. Could you enable Diagnostics log at the bottom of Settings, try the removal again, and send me the log file? On Linux you’ll find it in ~/.local/share/FerrumPix/logs/ as diagnostics.log, and possibly errors.log as well.
Since you’re running FerrumPix inside a VM, I would expect the AI tools to run on the CPU unless you have explicitly configured GPU passthrough. The VM normally only sees a virtual graphics adapter, not the GTX 1080 itself. So if Use the graphics card for learned models is enabled, please switch it off and try Remove Object again.
The “unknown” graphics card entry is most likely just that virtual adapter. “Vulkan” only describes the graphics API being exposed by the VM; it does not mean FerrumPix has direct access to your physical GPU.
About the filmstrip: the thumbnails use a fixed landscape shape, so portrait images get cropped inside the tile. The image itself is not stretched, but I can see why it can look that way.
For grayscale, open Filter in the editor and use B&W. The Strength slider controls the effect. You can also simply set Saturation to -100 under Color if you want a straightforward conversion.
Export is in the bottom menu with the three lines. In the gallery there is also a separate Export button when images are selected, and you can reach it from the thumbnail context menu as well. Export to handles format, size, watermark and filename in one step.
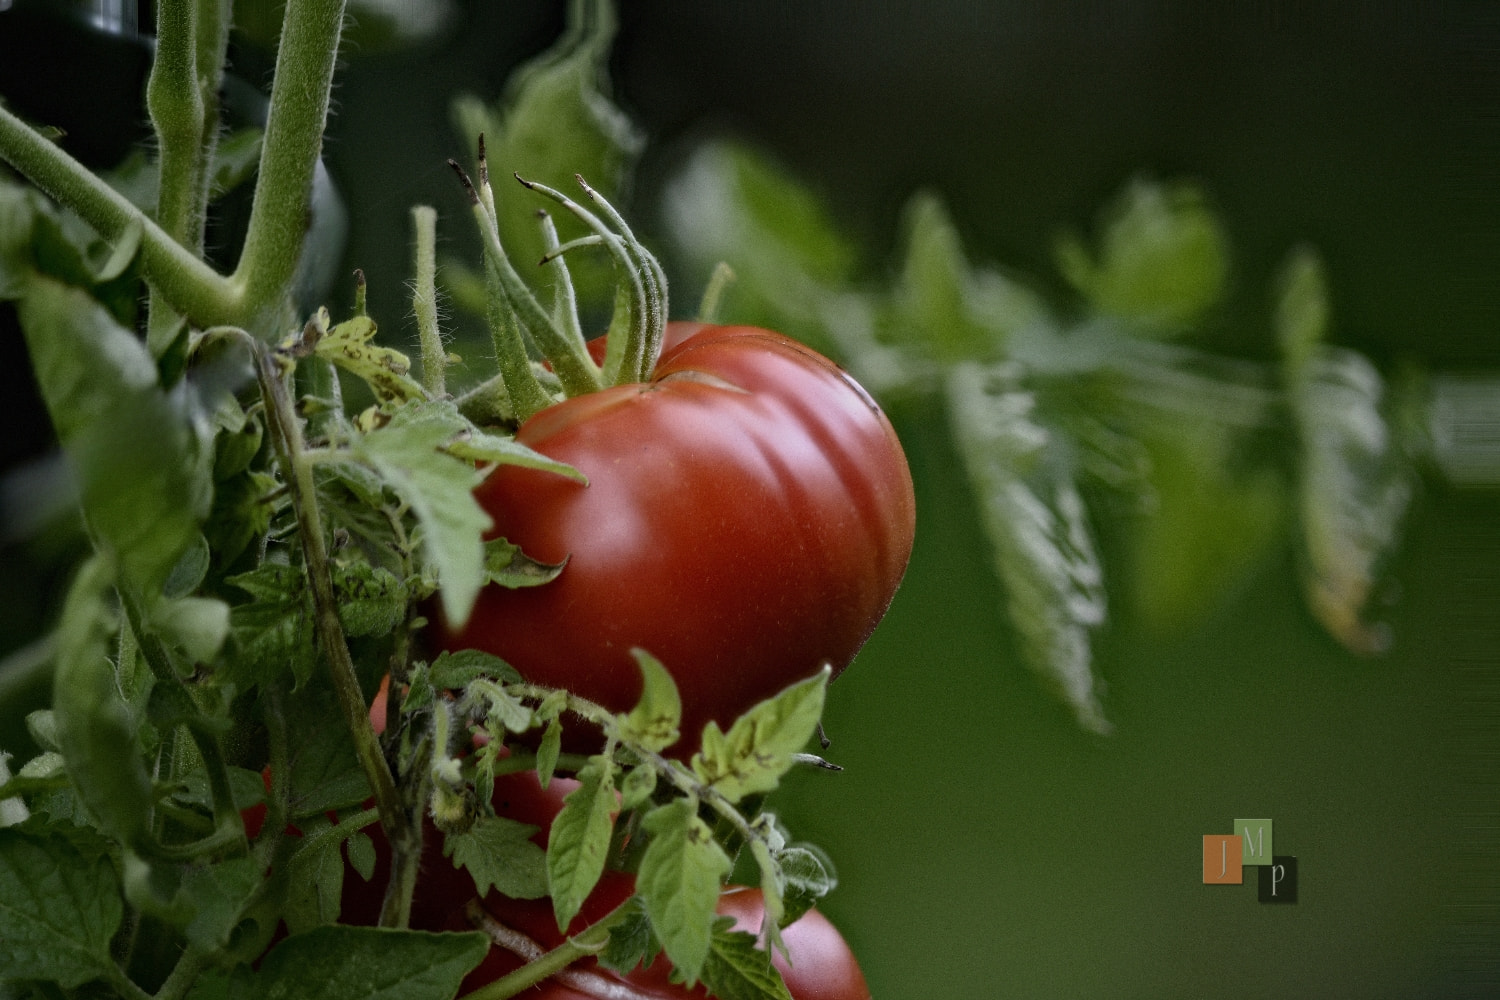
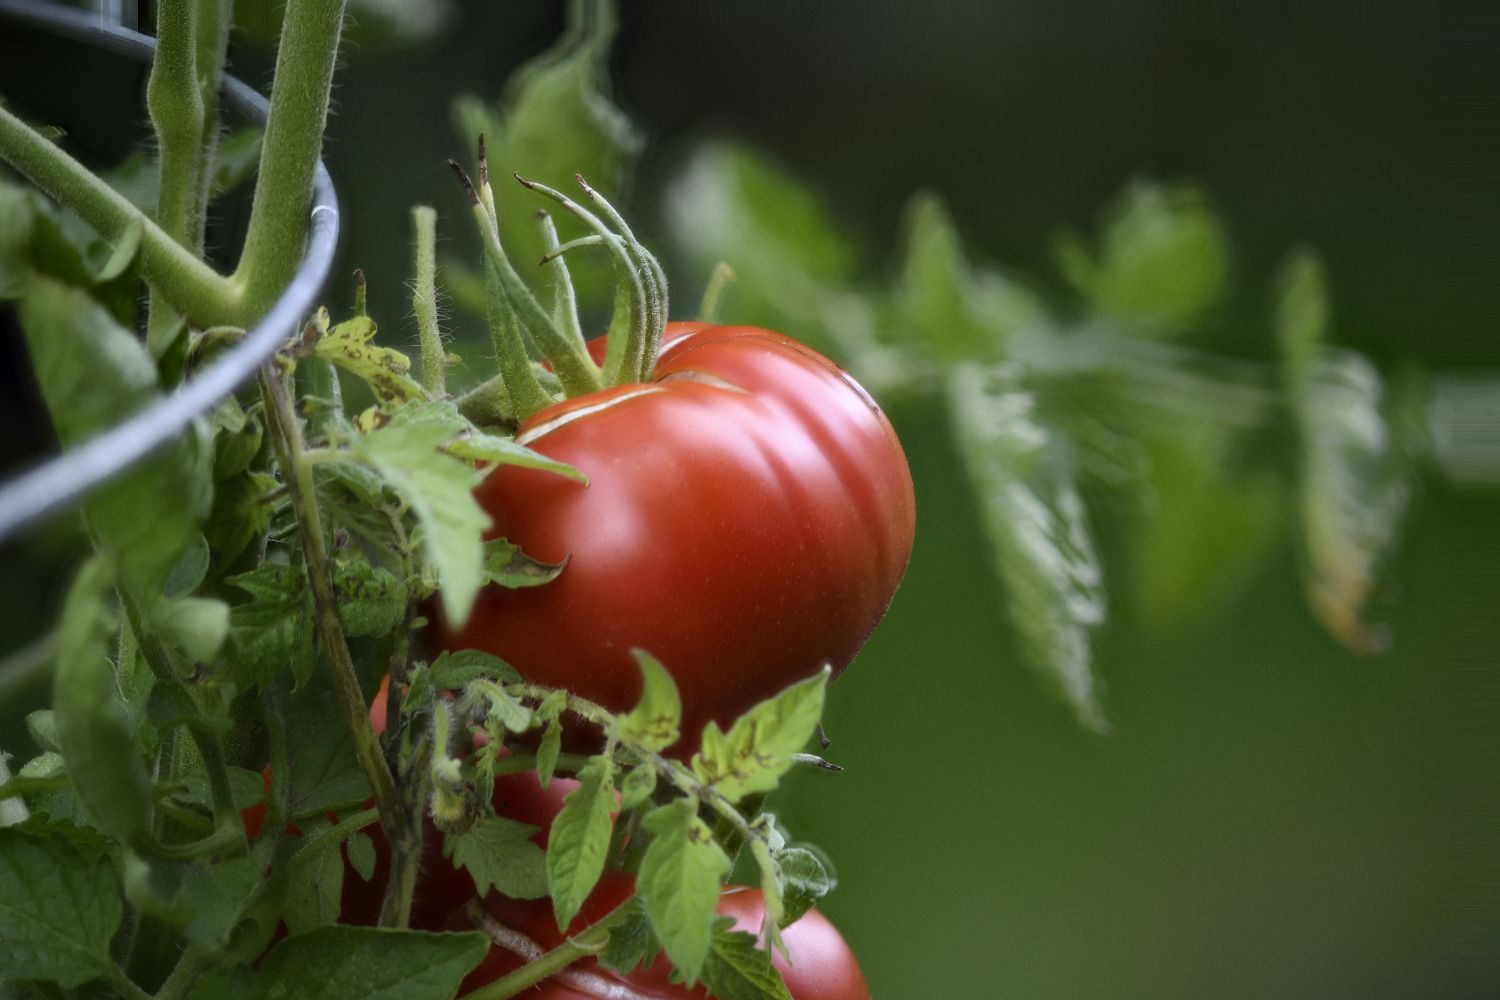
Thanks Patrick, The B&W and Export are now found. Exports have good options. I enabled logging, but root access was being a pia. So I disabled the GPU in settings and now it works fine. It also gave me a chance to explore the masking settings, and I am more proficient with it. Employed here to remove a tomato cage
Fantastic collaboration between you gentlemen! Great images and some really creative software and photography; this is the stuff I’m not good at all; doesn’t stop me from appreciating it - impressive stuff; thanks!
Brian, In the early 1990s I got a computer with 14,400 baud modem and WFWW 3.11. I created a dial-up to a photography bbs group hosted by Kai Krause (how lucky can you get?) https://en.wikipedia.org/wiki/Kai_Krause He was just starting a “Kai’s Tips” series about creating images without a camera using Photoshop v2, and alpha channels. I was gobsmacked, but hooked. He did about 10 tips and was off to other things. Soon, a whole series of Kai’s plugins came out - Tools, Convolver, Goo, Soap - it was endless innovation and fun. Then he formed Macromedia Corp and made programs that created landscapes from nothing (Bryce), and human forms from wire framed skins.
This feels like that. Adobe periodically asks for my feedback and opinion, and for 35 years I’ve told them their UI stinks. That it isn’t legible, or intuitive - “is that 8 pixel spot on the monitor, or an entire world of tools I didn’t know about or a bit of a sneeze residue?” has forced me to explorer incessantly. Adobe’s Russell Brown tutorial videos were helpful, but he got promoted out the door.
So, along comes Patrick with his AI staff, and in “a few months” creates an all in one application for imaging, DAM, and viewing photos. I really feel lucky again. What are the odds?
Jim
Today, I tried FerrumPix on Win11. It really liked having access to the M2 drive, and graphics system. Very snappy, and extremely consistent UI from multiple distros of Linux. I have a M2 mini I’d like to try it on in the future.
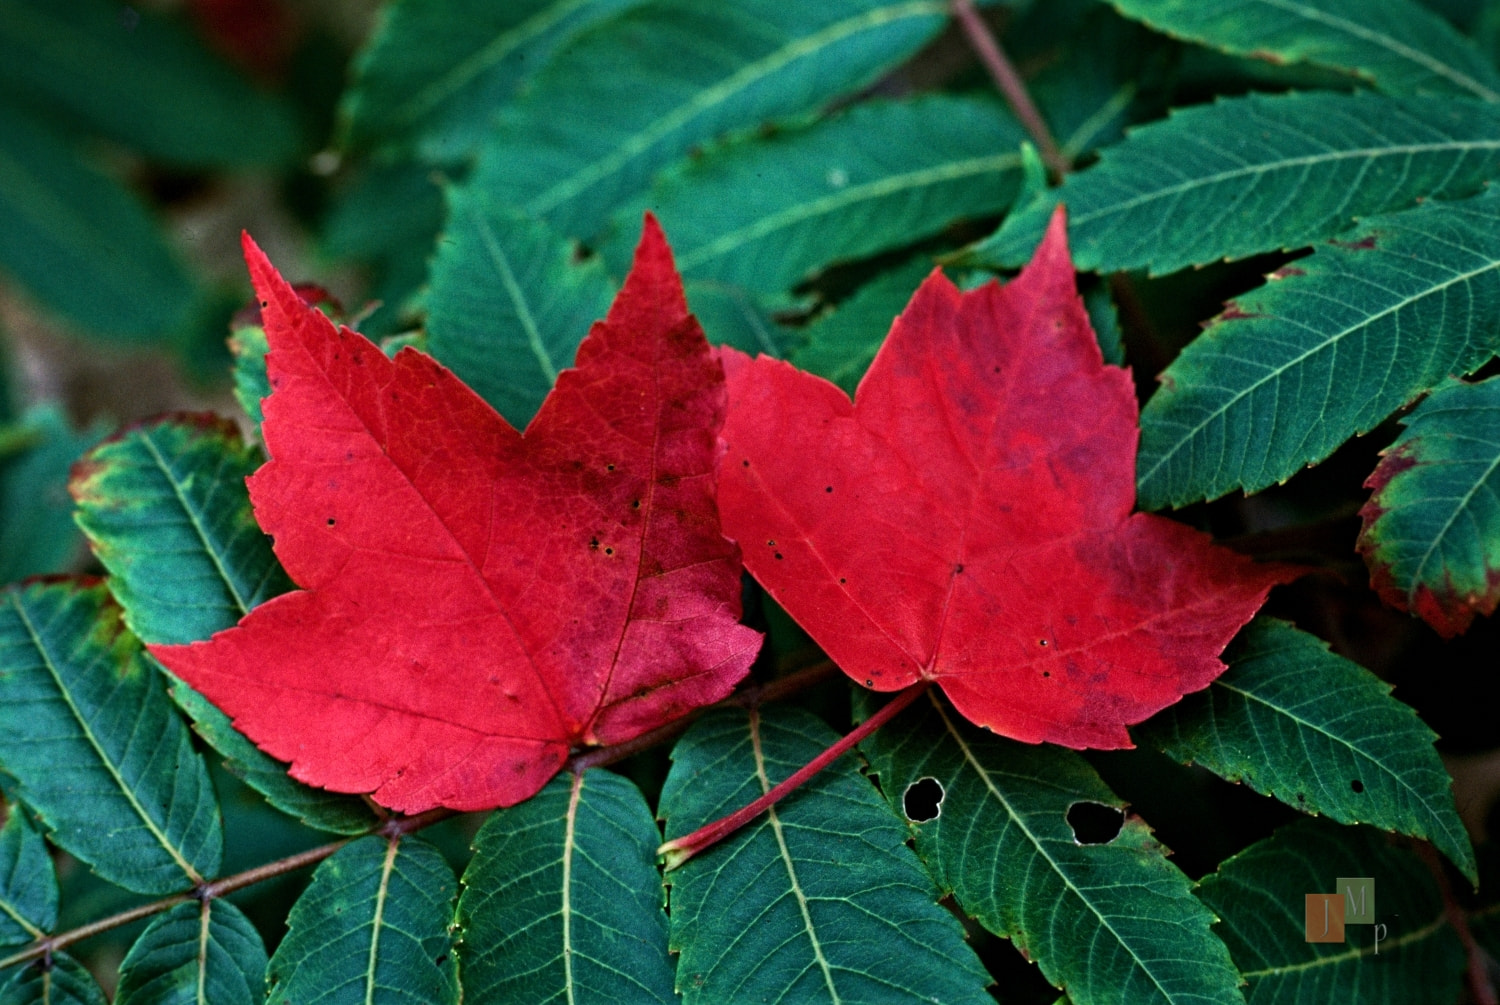
The test I choose is a 34 year old Fuji Velvia slide that I sold multiple Cibachrome (by Ilford) 16 x 20 prints - enlarged, and printed the analog way. Even then the red leaves bloomed, and were difficult to get right. Back then I had to burn (I think, otherwise dodge) them in to get their details (Cibachrome was a positive slide to positive print on pure white polyester) Anyway, This image has never come out to my satisfaction using digital means. Multiple scanners, software, and this time dslr scan with the Canon 5DS-R. Just trying to push it, and I didn’t run into any issues. FerrumPix v0.9.58.1 back on a VM of Mint 22.3 MATE DE
Hi everyone, another FerrumPix follow-up on 0.9.58
Layers & G’MIC
Individual layers, or several selected layers at once, can now be sent directly to G’MIC from the layer context menu. Text, shapes and layer adjustments are rasterized on the way, and the result comes back as a new layer.
Multiple layers can now be selected directly on the image with Shift+click, then aligned or distributed from the top bar: left, right, top, bottom, centered, or evenly spaced.
Rasterizing a layer now turns it into an image layer in place instead of merging it into the photo.
Layers can be trimmed to their visible content, and selected layers or groups can be flattened when needed.
Layer-based selections, masks and clipped adjustments now respect the actual visible area of the layer much more consistently, including its mask.
Retouching
The healing brush now looks more carefully at the area before repairing it. On smooth surfaces it prefers other smooth areas, so removing something like one line of text is much less likely to drag in parts of nearby lines.
Faster browsing
RAW files without a usable embedded preview especially CHDK DNGs now appear in the gallery and viewer much faster.
Viewer, quick preview and image comparison can use half-resolution RAW development, which makes stepping through images much quicker. Full resolution can still be enabled when needed for checking fine detail.
Gallery & filmstrip
Filmstrip tiles can now follow each photo’s real aspect ratio , so portrait images stay narrow and landscape images wide.
Photo Wall tiles are calmer by default: stars, favourite and other controls only appear while the mouse is over the image. This can be switched off if you prefer the old behaviour.
Editor improvements
FerrumPix now uses a new unified color picker throughout the editor, with opacity, hex values, recent colors and a direct comparison between the previous and new color.
Undo and redo now keep selected layers selected, including multi-selections.
Resizing several selected layers together no longer makes the bounding frame jump into the wrong shape.
RAW metadata
There were also a few fixes around RAW metadata: shutter speeds are shown as fractions again, RAW dimensions are read more reliably, and portrait images are stored upright in the catalog so width-based sorting and filtering matches what you actually see.
Thanks again to everyone testing FerrumPix and reporting the odd little workflow problems.
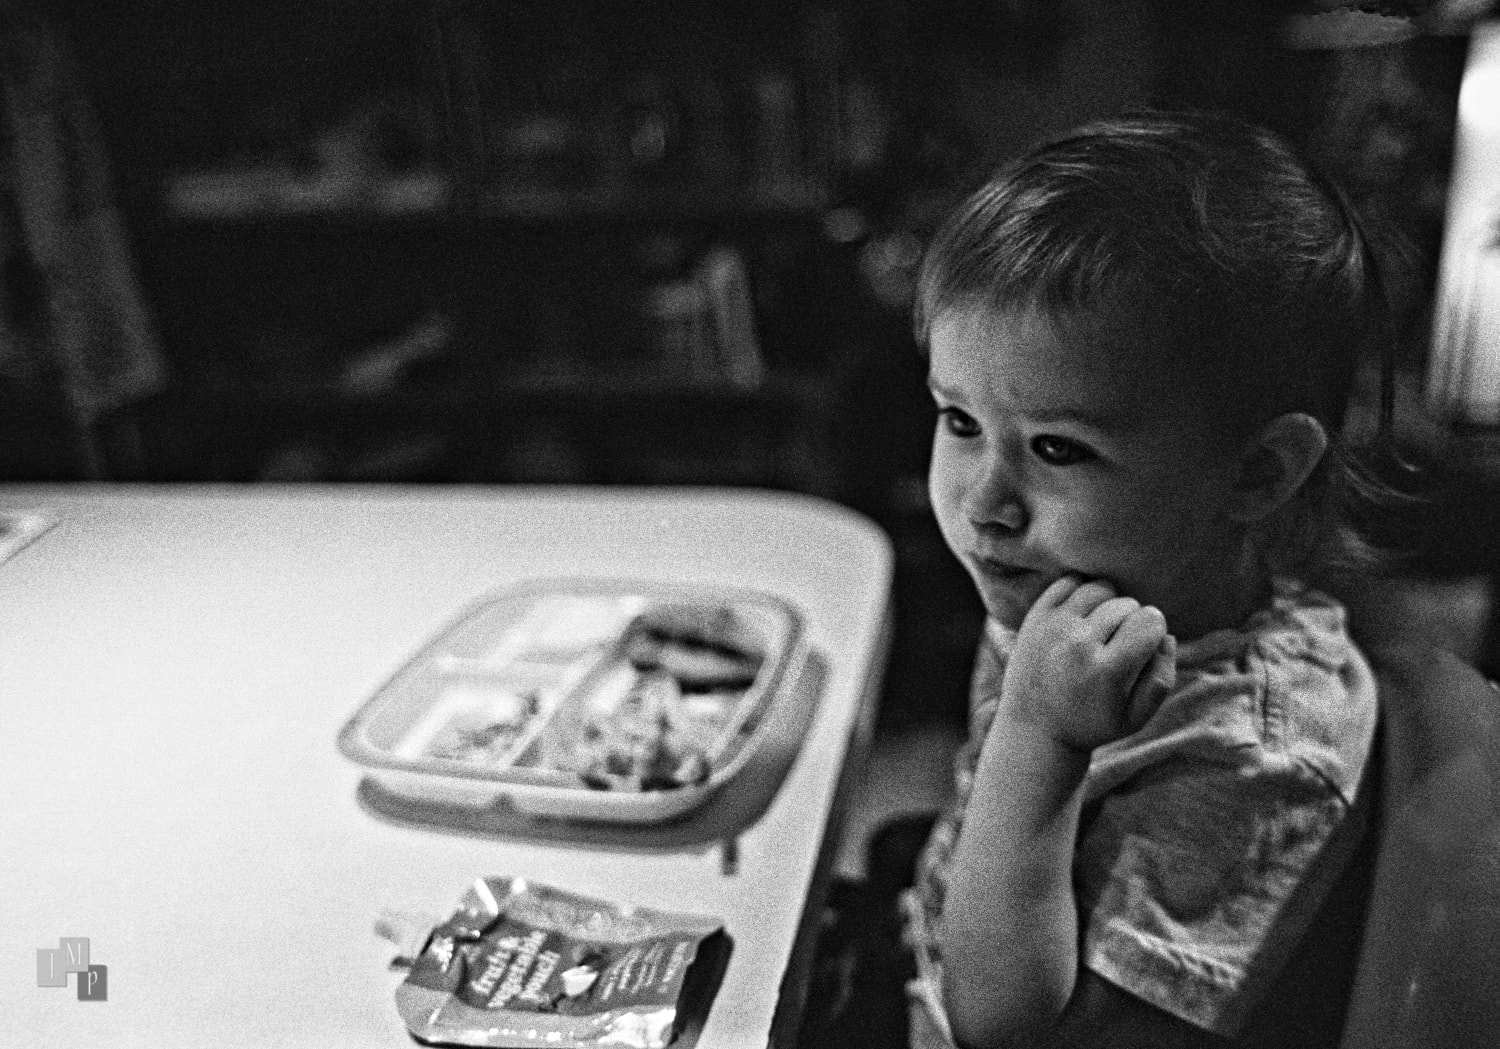
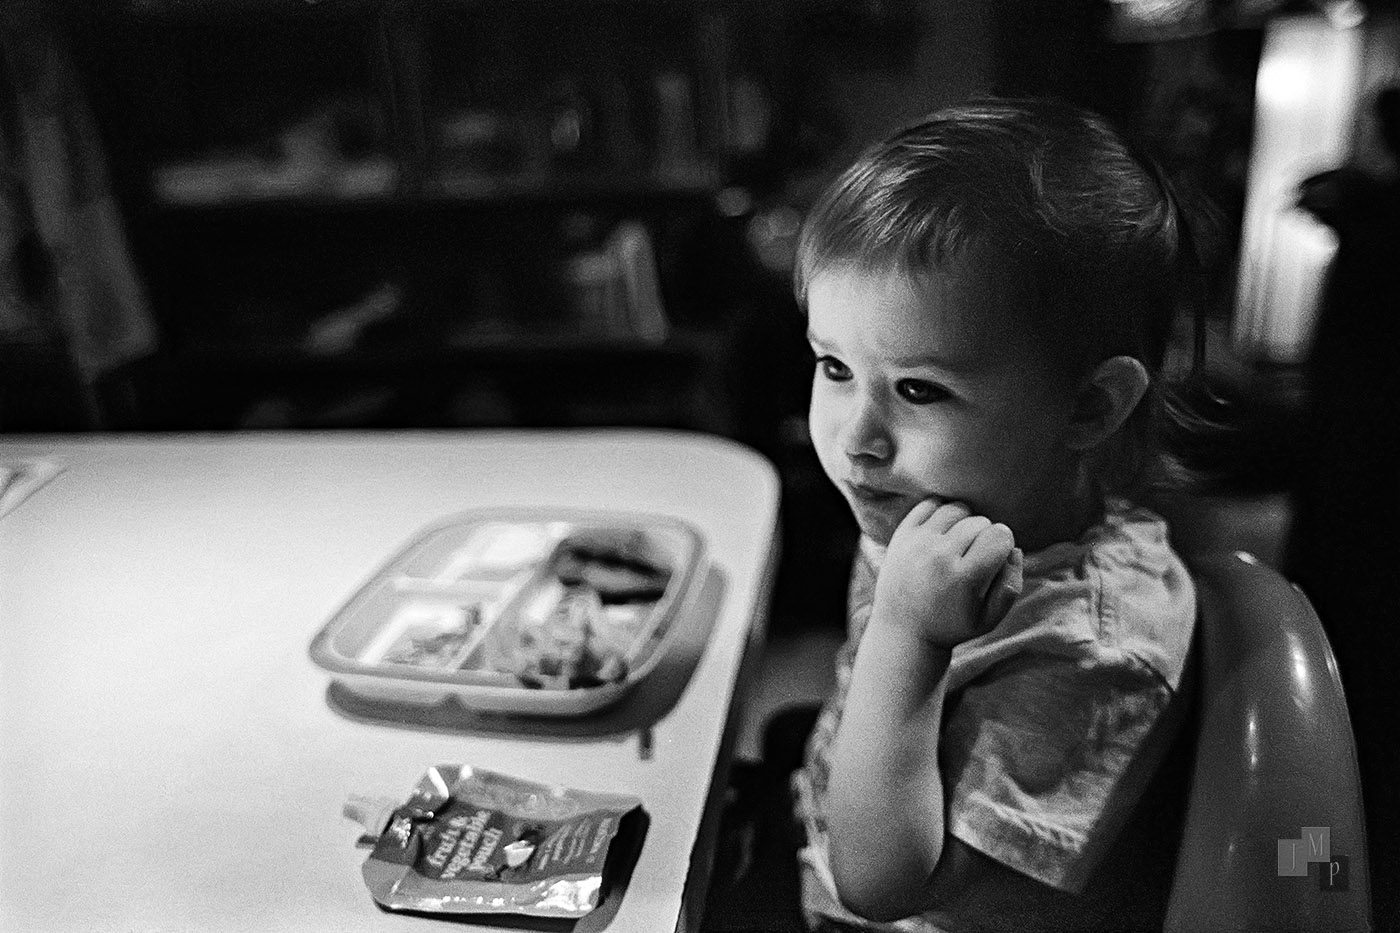
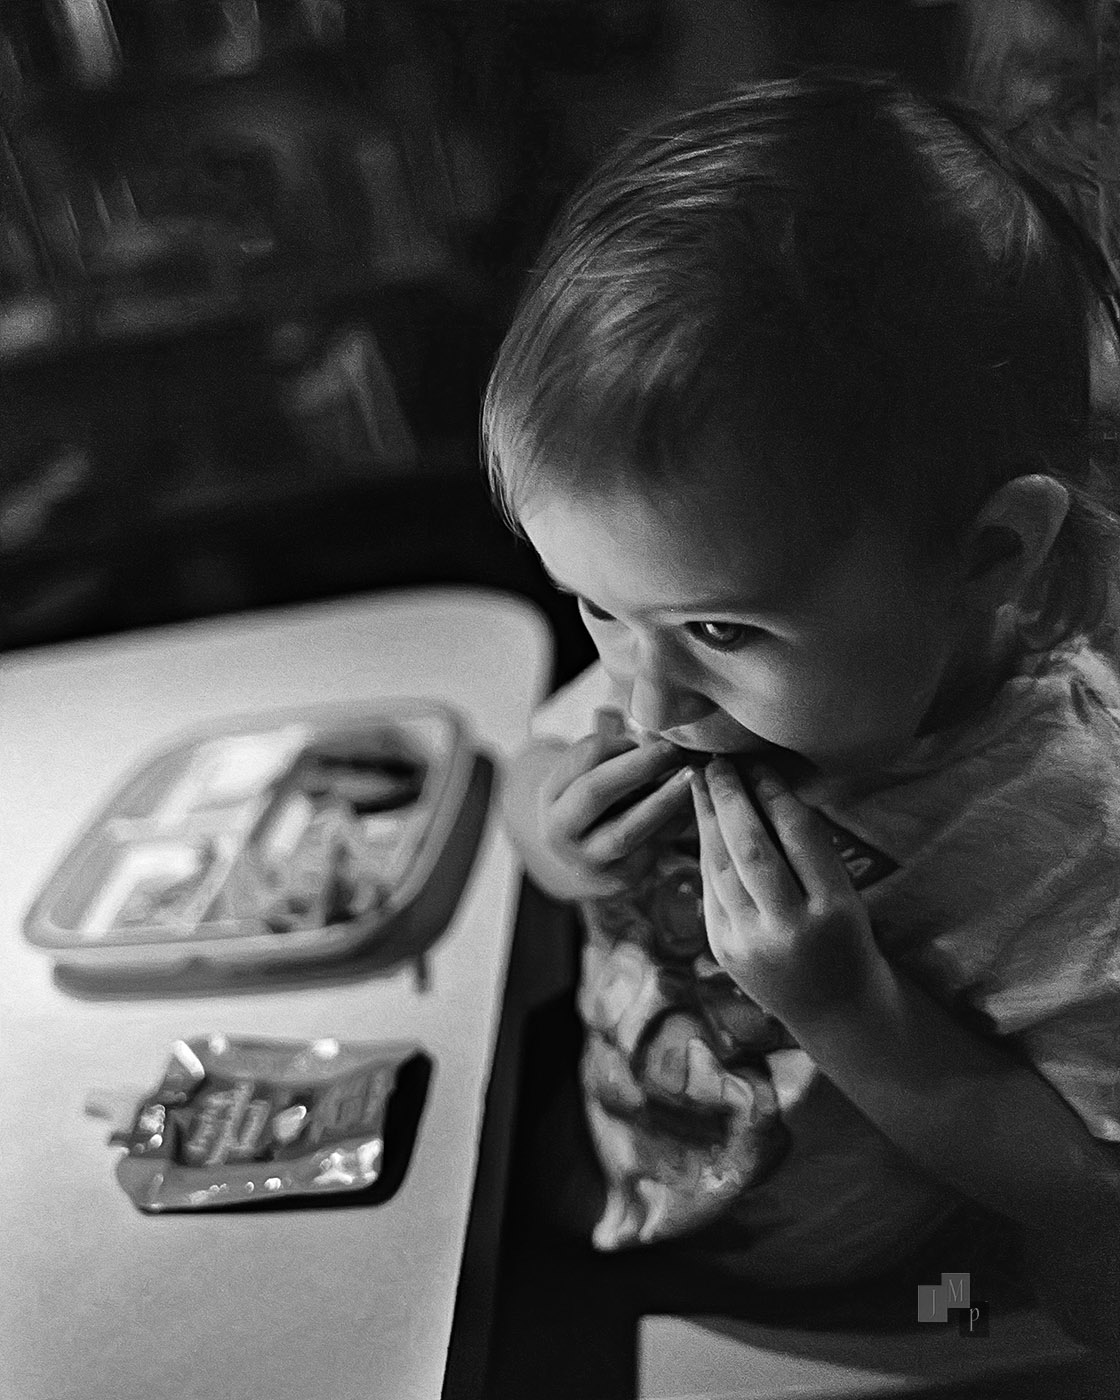
Today’s test ran into problems immediately. Yesterday I shot a roll of black & white Kentmere 400 pushed two stops to 1600 iso. I needed that faster shutter speed (dark lighting), and usually there is a penalty with increased noise on the film even though you compensate with the development time. The subject is one of my grandkids (2.5 yo) watching the Australian cerebral cartoon Bluey - much like the American “Fractured Fairy Tales” of the 1960s when I was a kid. It grabs them by the brain + she loves fries (aka chips) Seemed like an opportunity to capture two loves in a couple shots.
I scanned the film two ways. A Nikon LS-5000 I fixed, and with a dslr. The software I use on the Nikon scanner is written by David Hamrick and is called Vuescan. I save raw files from it in the DNG format. I thought this would work, since my Pentax 645Z shoots DNG and FP had worked fine with them. However, FP can’t see Vuescan DNGs - I think it is because they don’t have embedded thumbnails, and I can’t find a setting to create them in FP. Interestingly, the old Nikon LS-5000 scans look better than the higher resolution 5DSR files? So now it is an Apples and Oranges comparison.
Noticed:
-Quick denoise took a long time, and i didn’t see any change? I assume it is the VM/graphics again - so it may be nothing
-The thumbnail widgets are great, but a confirmation prompt on the “trash” would be nice.
VueScan DNGs: I found a VueScan DNG from a Nikon LS-50 online and could reproduce it. It wasn’t the missing thumbnail. Black and white scans from VueScan are stored with a single gray channel, and FerrumPix only accepted files with three color channels, so it skipped them completely. That’s fixed in the coming 0.9.59, and the sample file now opens as a clean grayscale image. If you can share one of your LS-5000 DNGs, I’d like to double-check with the real thing.
Delete confirmation: the trash button should already ask before deleting. There’s a setting “Skip the delete confirmation” in the settings, maybe it got switched on?
Quick denoise: I tried it on a black and white film scan. It does work on grain, the quick model takes out about half of it. But the difference really only shows at 100% zoom, not when the whole scan fits the screen, which is probably why you didn’t see a change. And with only the emulated graphics of the VM it’s slow, so the long wait is expected there.
My tip would be to try the sliders first:
In the same “Noise” group as the denoise buttons, move the “Noise” slider to the left. Around -20 to -30 already takes out most of the grain on that scan, instantly, and you can change it any time. It softens fine edges a bit, so check at 100%.
If you want to keep edges crisper, try the slider in the “Blur” group. It’s gentler, takes out less grain and leaves lettering sharp.
The model is only worth the wait if neither is enough. Keep in mind that it bakes the result into the picture.
Man you are fast. I imaged one in Windows 11 with - “what do I miss” in mind.
Things I Missed:
-On FP’s Tone Curves the wave form is reversed. Shadow is usually bottom left corner, and highlight is top right corner. Grabbing the curve and pushing up usually lightens that luminosity, and pulling it down usually darkens it. FP has that reversed as well. Adobe use to have (maybe still does) a button to switch orientation.
-Same Tone Curves area - global eye droppers - Black, Gray (usually 20%), and White. They are not only good tools for adjusting luminosity, but also for color correction
-A fader. Adobe stuck it in the file menu under edit. Any operation can be faded with a slider if done immediately after the operation. FerrumPix doesn’t have a tradition menu bar. Perhaps the History palette would make a good spot to have a slider, similarly limited to the last operation?
-A right click Refresh Directory option in the Folder view.
-The show/hide indicator on the layers palette - I can’t see very well
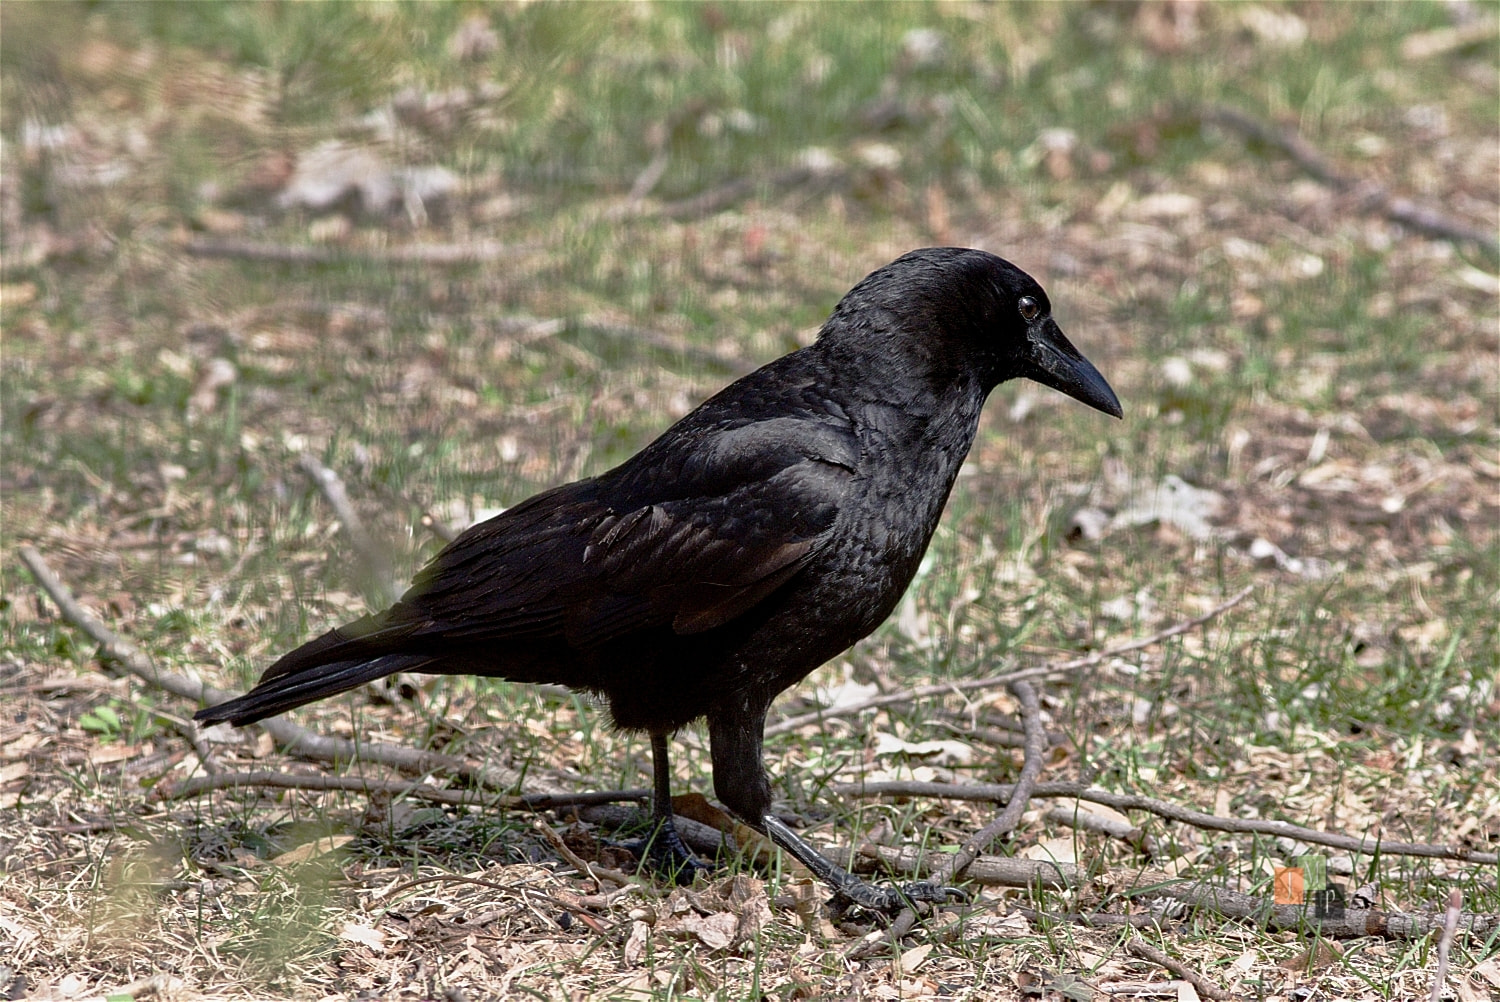
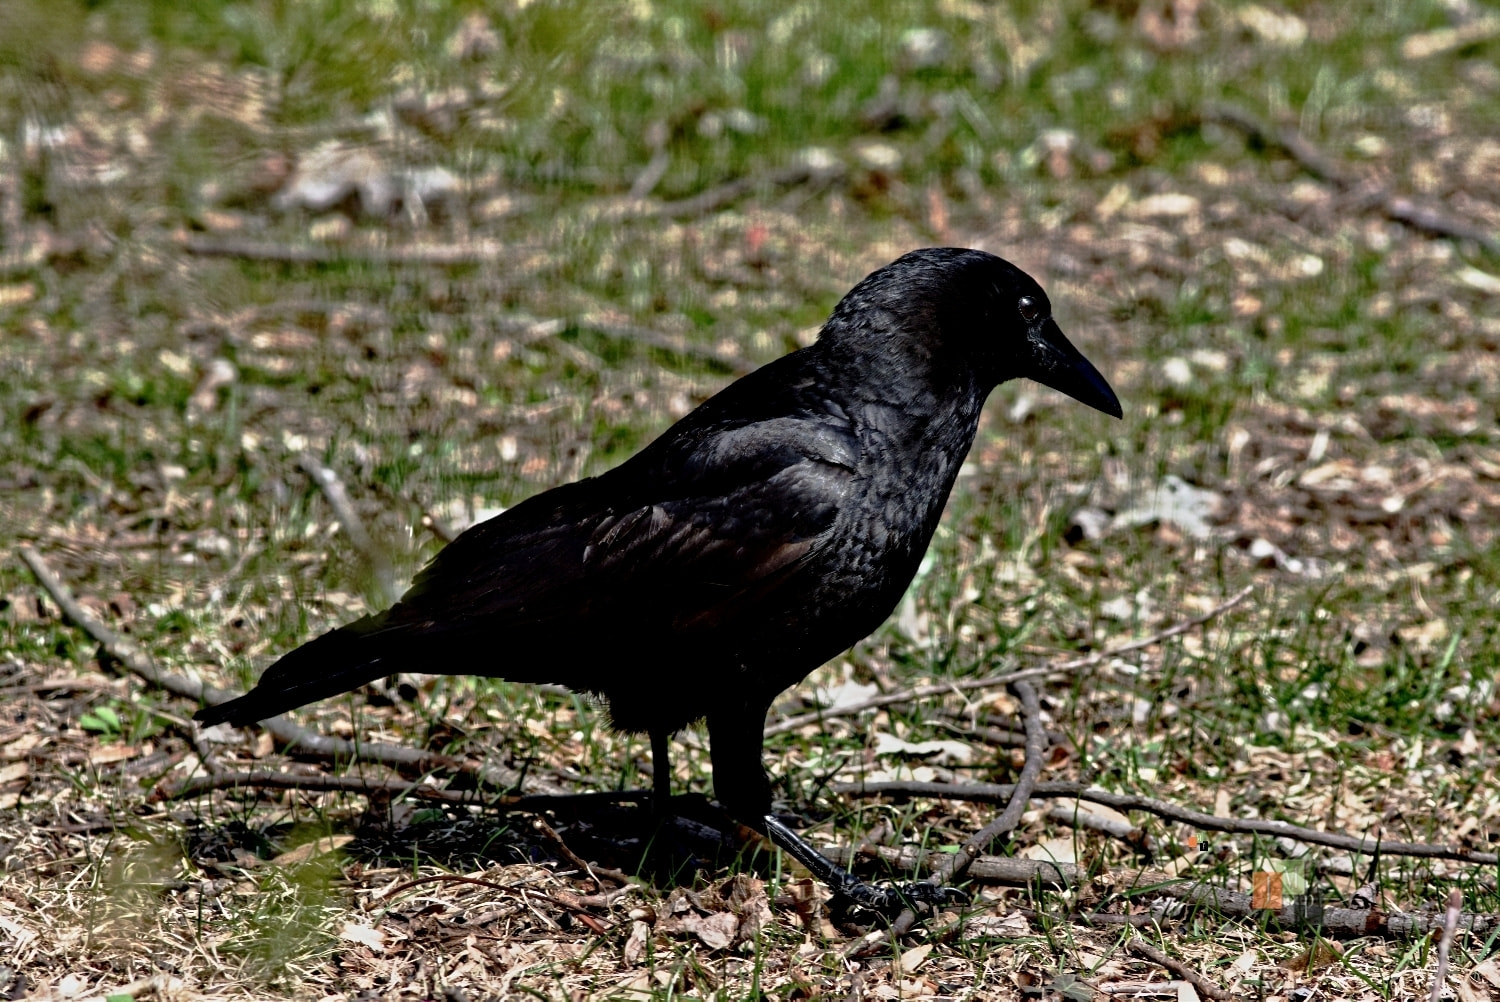
My wife took over feeding the birds for me. The birds now think of her as the candy lady. She gave the crows cashews, and at one point 11 crows were showing up twice a day. This guy was searching the grass for missed morsels.
Tone curve: in FerrumPix shadows are bottom left, highlights top right, and pulling the curve up should lighten. Were you working on a negative with “Film negative” turned on? I suspect the histogram behind the curve shows the negative there, which would make it look reversed. A screenshot would help me check.
Black, gray and white eyedroppers on the curve, a fade for the last step, Refresh in the folder tree and a clearer show/hide indicator in the layers panel: good points. Right now F5 refreshes the gallery, and there’s a gray eyedropper for white balance in the Color group. I’ve noted the rest.
Thanks for the VueScan DNG, I’ll test with it as soon as it’s there.
Today I imaged a color negative I souped in C41, scanned in the Nikon LS-5000 and scanned using Vuescan.
Film = Fuji 400, Camera Nikon F4S with the manual focus Nikkor 400mm f5.6 ais + modified TC-16A.
FerrumPix made thumbnails, but I tried the convert to positive tic box and it generated an error - Libdraw doesn’t recognize this camera. Tried the base color eye dropper - bad result - cropped the rebate off so none of the base showed - better result. Imaged from that. I’m thinking a dslr scan just doesn’t have this issue since the camera’s color profile would be known to FerrumPix
Noticed"
-Love seeing the image name in the title bar (Win11)
-Found two instances of fade? Did you add that already? (layer opacity slider, and adjustments has a button + slider) Thanks
-Tone curve works proper either on a positive image, or one converted to positive from a negative. Maybe I did leave that tick box ticked as you surmised.
I indexed my smallest year (2020) across the cat5 home network. It is about 3200 full resolution images, and took approximately 20 minutes.
This is a WYSIWYG edit. The color was a bit wacky to start, and I am not satisfied with it. The “auto” adjustment was way too aggressive, but that is why I found the fade slider. Seems a logical place to have it. I messed it up a bit with denoise (why the image is soft), used the improved repair brush on dust. And, this is me, couldn’t find the “stroke” command. I know it’s there already, because I’ve seen it more than once.
 She gave the crows cashews, and at one point 11 crows were showing up twice a day. This guy was searching the grass for missed morsels.