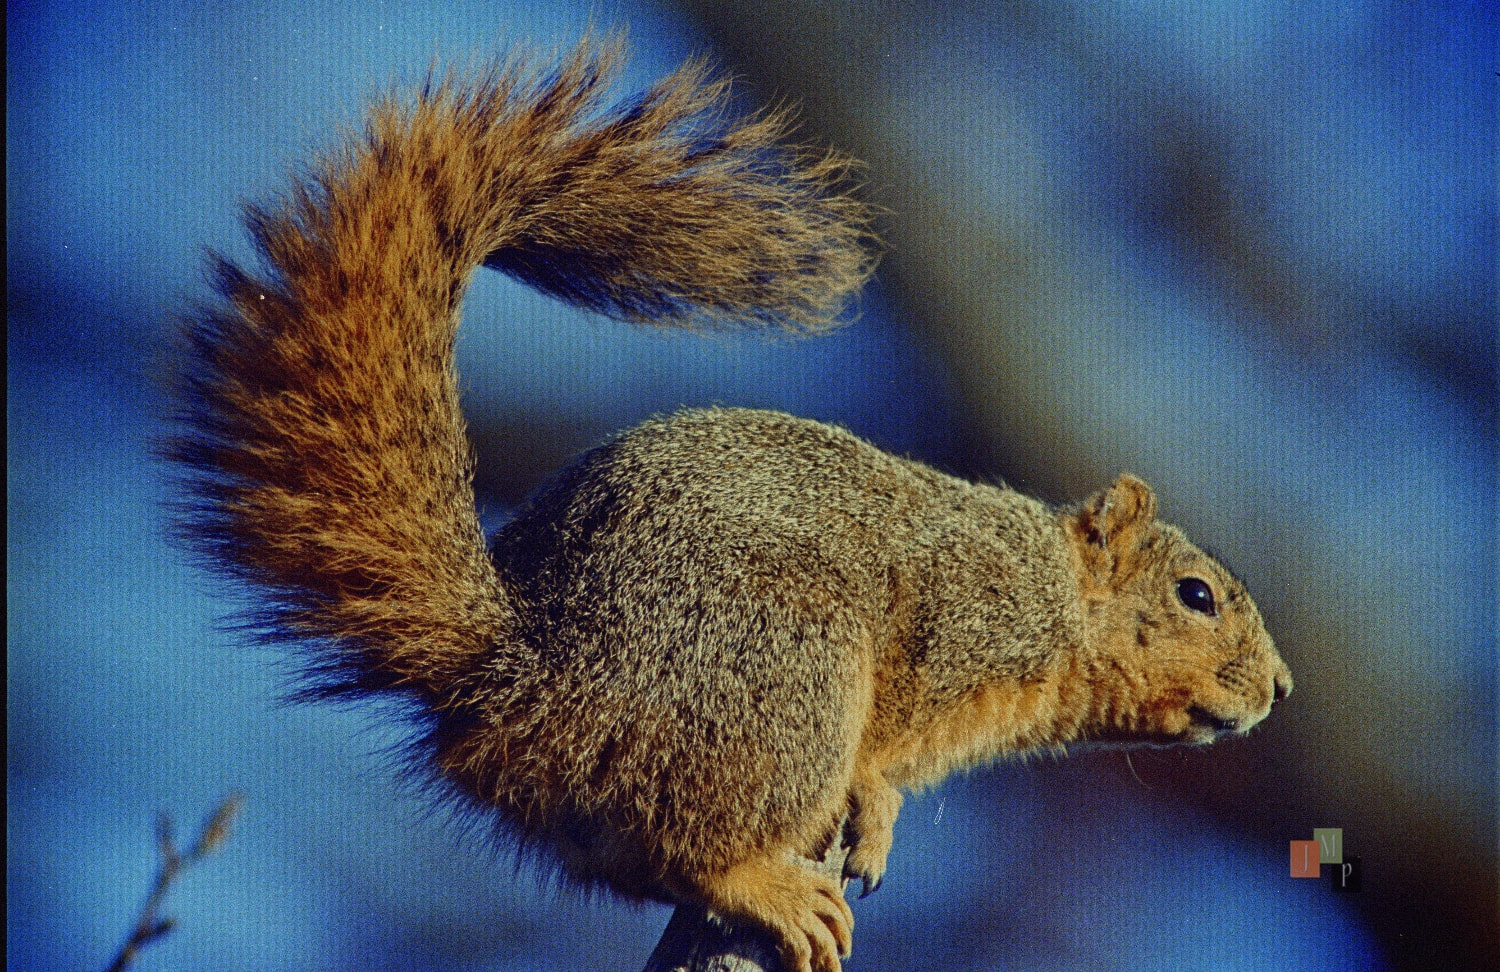
Very nice squirrel photo, James.
But if I compare the tails, it seems like a different photo. Am I wrong?
Very nice squirrel photo, James.
But if I compare the tails, it seems like a different photo. Am I wrong?
I think you are right. The gap between the tail and back is different. I shot a sequence of 4-5 frames (the max fps for the F4s). All of them are in focus. It was the color different I was trying to illustrate. I’ll re-do the FP version. I accidentally applied the denoise to the web sized version. and a save - so I couldn’t just back out.
Switched it out - you can see why I tried noise reduction
EDIT-2
I need to clear this up. I am not criticizing FerrumPix. I think that error from Libdraw is the reason. It is calling my Nikon LS-5000 “not a recognized camera” - that is because it is not a camera at all - it is a film scanner. FerrumPix is looking for the recipe (for lack of a better word) on how the manufacturer defines color correct conversions. The digital camera manufacturers all have their theirs likely embedded inn the metadata, or Patrick got it from them directly. To compound things even further - every film uses a different base, and different dyes or coatings. It literally is variable upon variable. Back in the day - even with drum scans, and the best equipment - it was difficult to get color correct images. It is one of the reasons I love NLP. Nate has the best color profiles I have ever seen. I’m assuming he worked for a pre press print ship or garnered his knowledge from experience. Hope I made this understandable.
Hi everyone,
another FerrumPix follow-up 0.9.60 bring quite a few improvements around layers, retouching, RAW workflow and general performance.
The eraser tool now also contains four brushes that work directly on image content:
They work on both the main photo and selected image layers.
There were also several improvements here:
There are also a lot of smaller fixes around Save As, catalog entries on Windows, gallery overlays and camera support.
Thanks again to everyone testing FerrumPix and reporting the odd edge cases.
I had trouble finding ‘crop’ finally did will have to work to find it again. Not that it’s big deal I have other programs for cropping. I do like you can add text, some programs don’t have that feature.
v0.9.60-3
Patrick,
I like the new collapse the tool bar button, and the menu for this image button in the bottom left corner, and I like the new brushes. I really appreciate the refresh the directory tree off the right click too.
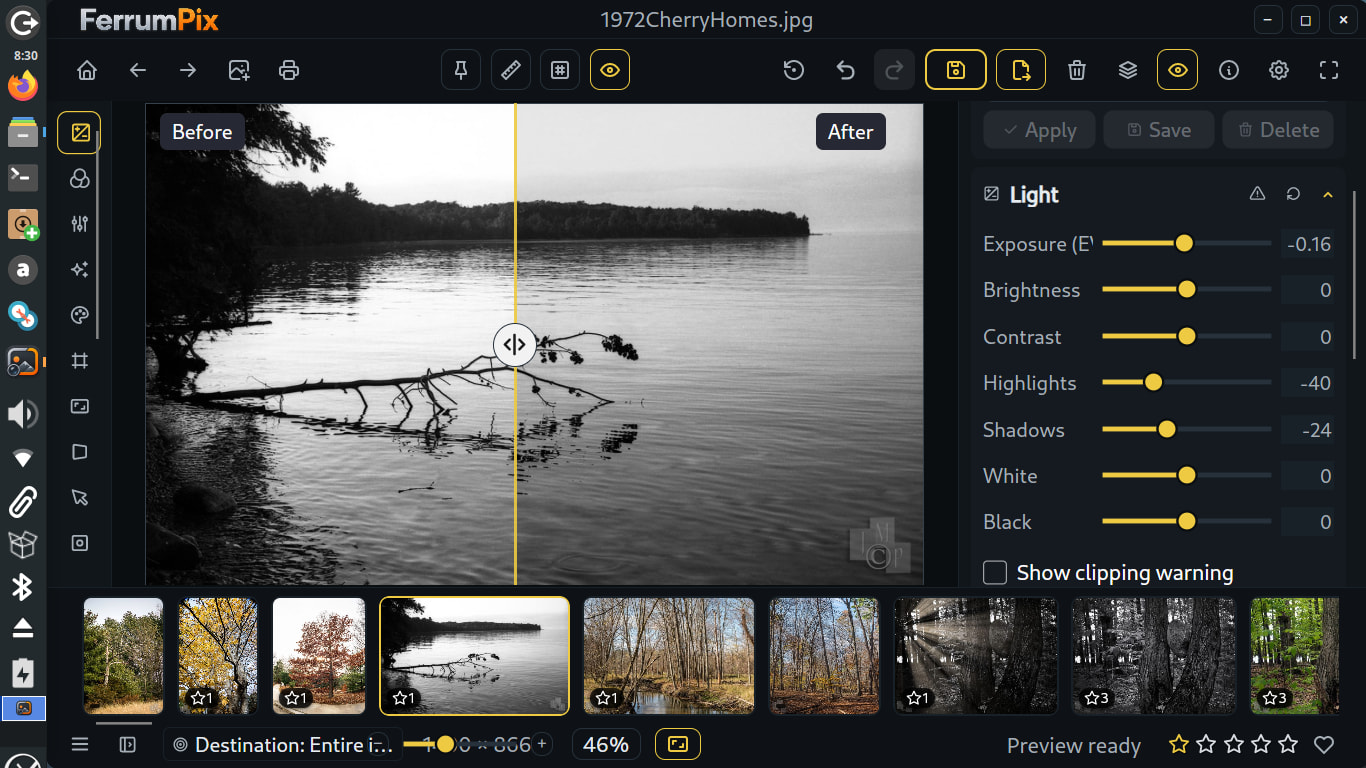
I went back to the Squirrel to see the color conversion changes you have made. I converted with and without the rebate, both were much improved. The cropped version was good. to very good. I have something that I don’t know if it is really there or not. The full resolution has smooth gradients and doesn’t show it, but resizing to 1500 pixels on the longest axis introduced vertical bands? I imaged the photo again and didn’t use any denoise or sharpening, and it did it again. I use a 42 inch led tv as a monitor, and I wonder if the dpi (96 usually, but sometimes 72) of the image is creating a moire type pattern on my screen? I’ve never seen it before. So if you don’t see it - good. Here is the Squirrel again.
FerrumPix just passed 700 GitHub stars 
That’s pretty wild for a project that’s still this young.
Thanks to everyone who has tried it, reported bugs, shared ideas, tested new builds or simply followed along. A lot of the progress over the last weeks came directly from that feedback.
Onwards to 1.0. 
Hi Jymm,
Crop lives in the editor under Transform, the frame icon in the left toolbar, together with rotate, straighten and flip. Drag the corners or edges of the frame, then press Enter or click “Apply transform”.
Best regards, Patrick
Hi Jim,
the bands are really in the file. When it shrinks a picture a lot, like from a full film scan down to 1500 pixels, it doesn’t smooth the fine detail first. The film grain and the fine pattern from the scanner then fold into those coarse stripes. That’s why the full resolution looks clean and only the small version shows them. I’ll fix that.
Until then, resizing in two steps (half size first, then down to 1500) should get rid of most of it.
If you don’t mind sharing the DNG of the squirrel, I could test the fix on the real thing. It would also help me check whether the “camera not recognized” message from the LS-5000 is gone.
Glad the colors came out much better, the cropped version really looks good now. And about “stroke”: there’s a stroke width for shapes, text and paths in their properties, but stroking a selection directly isn’t there yet.
Best regards, Patrick
Thanks for fixing it Patrick.
v0.9.60-4 VM of Mint 22.3 MATE DE (I still like the look of it best)
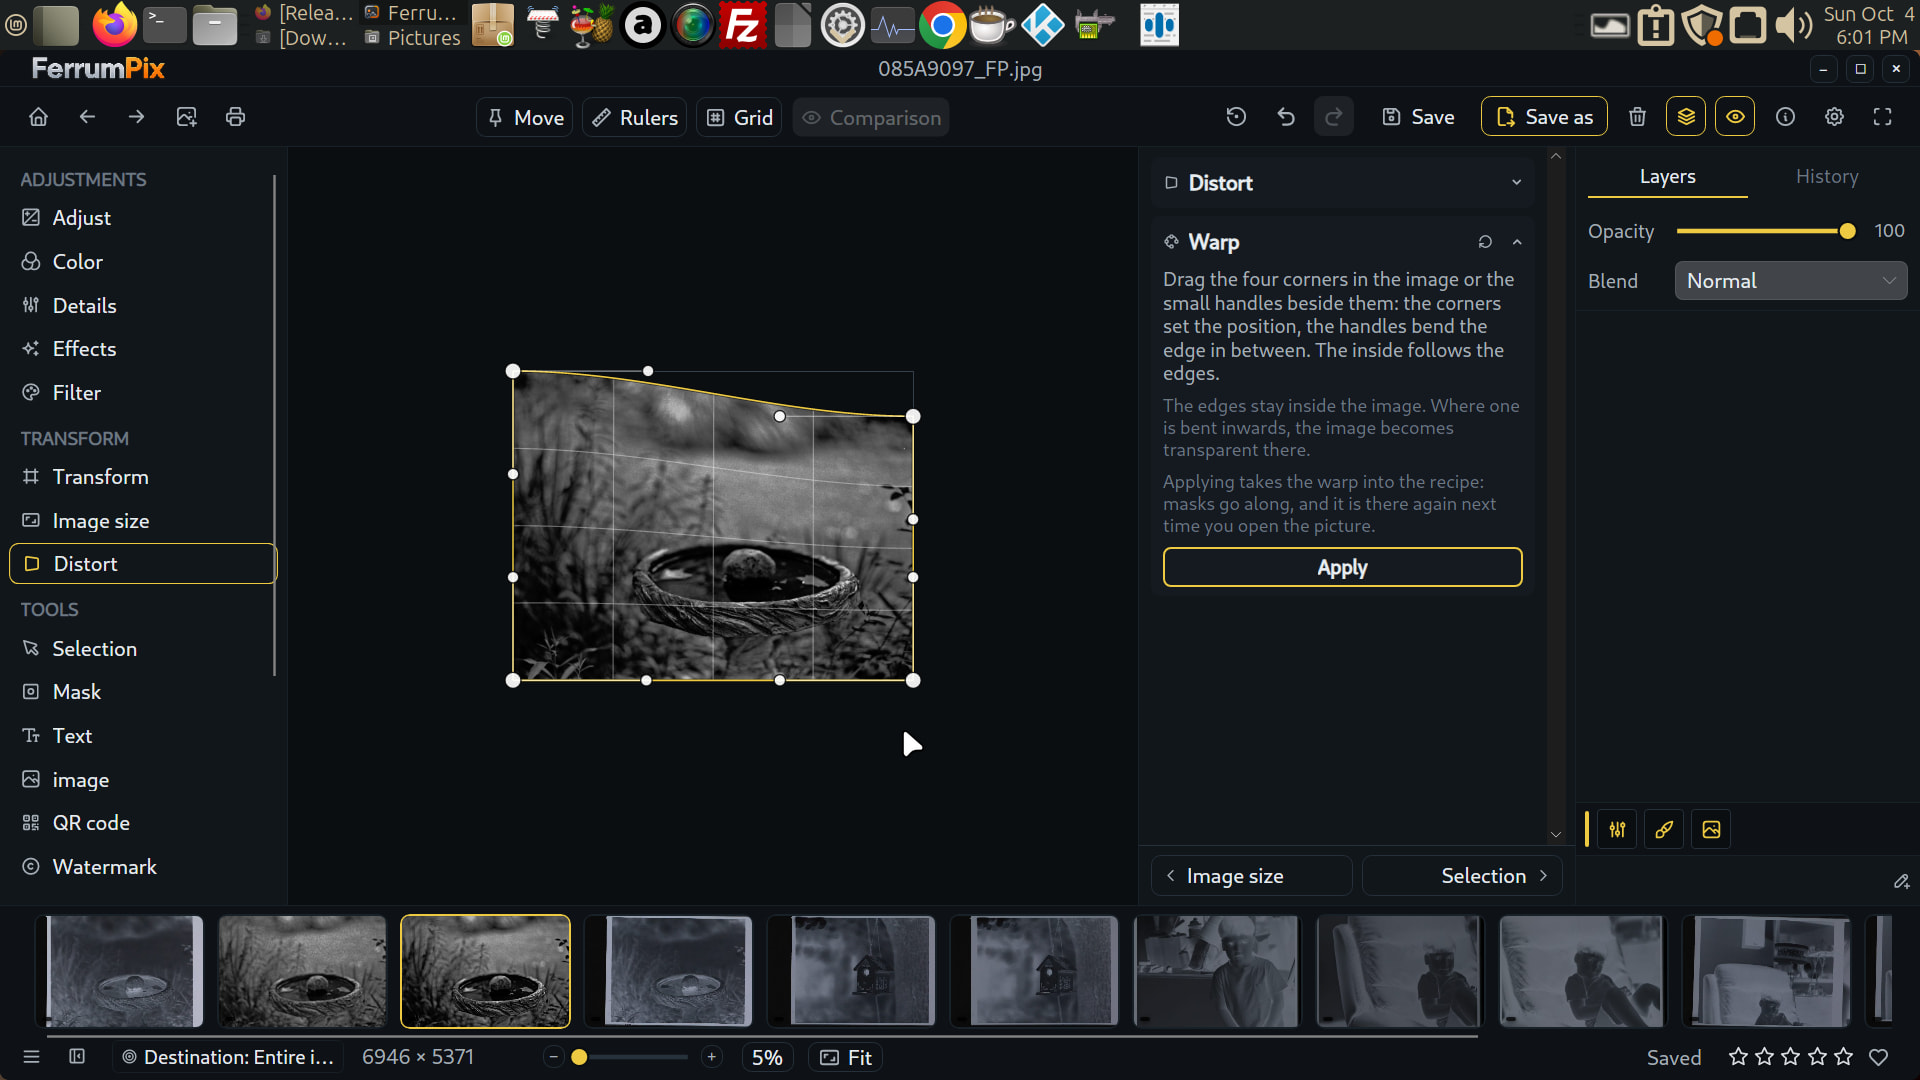
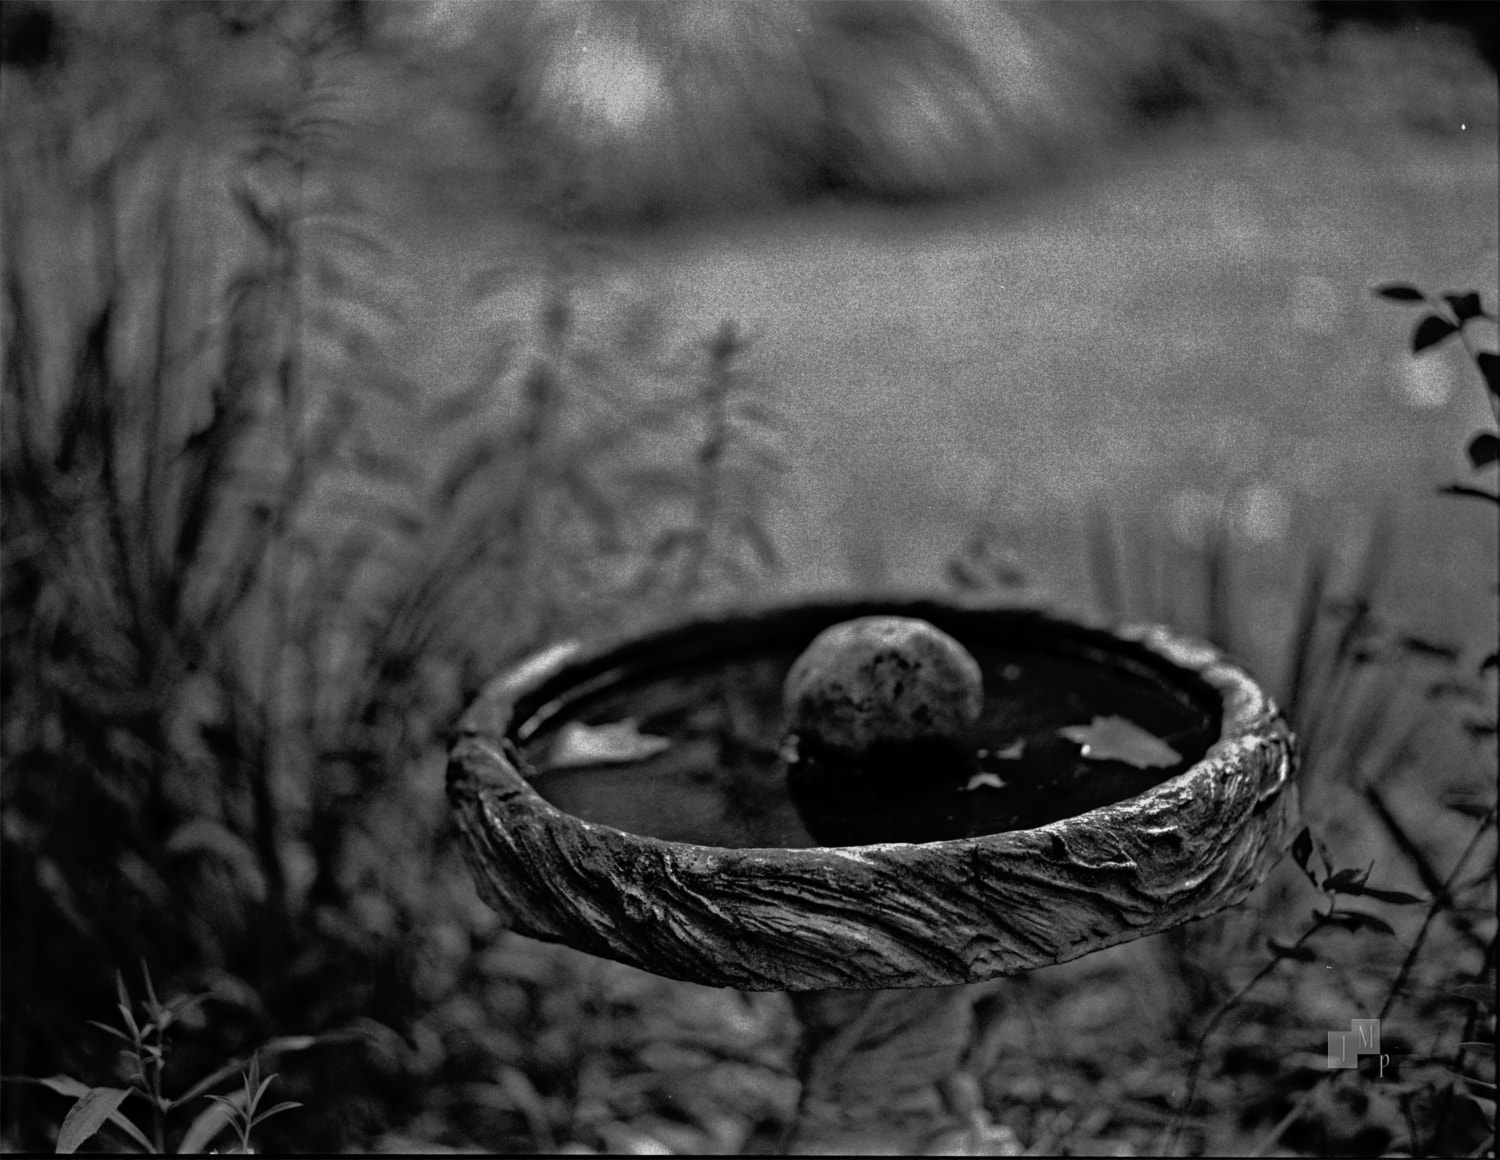
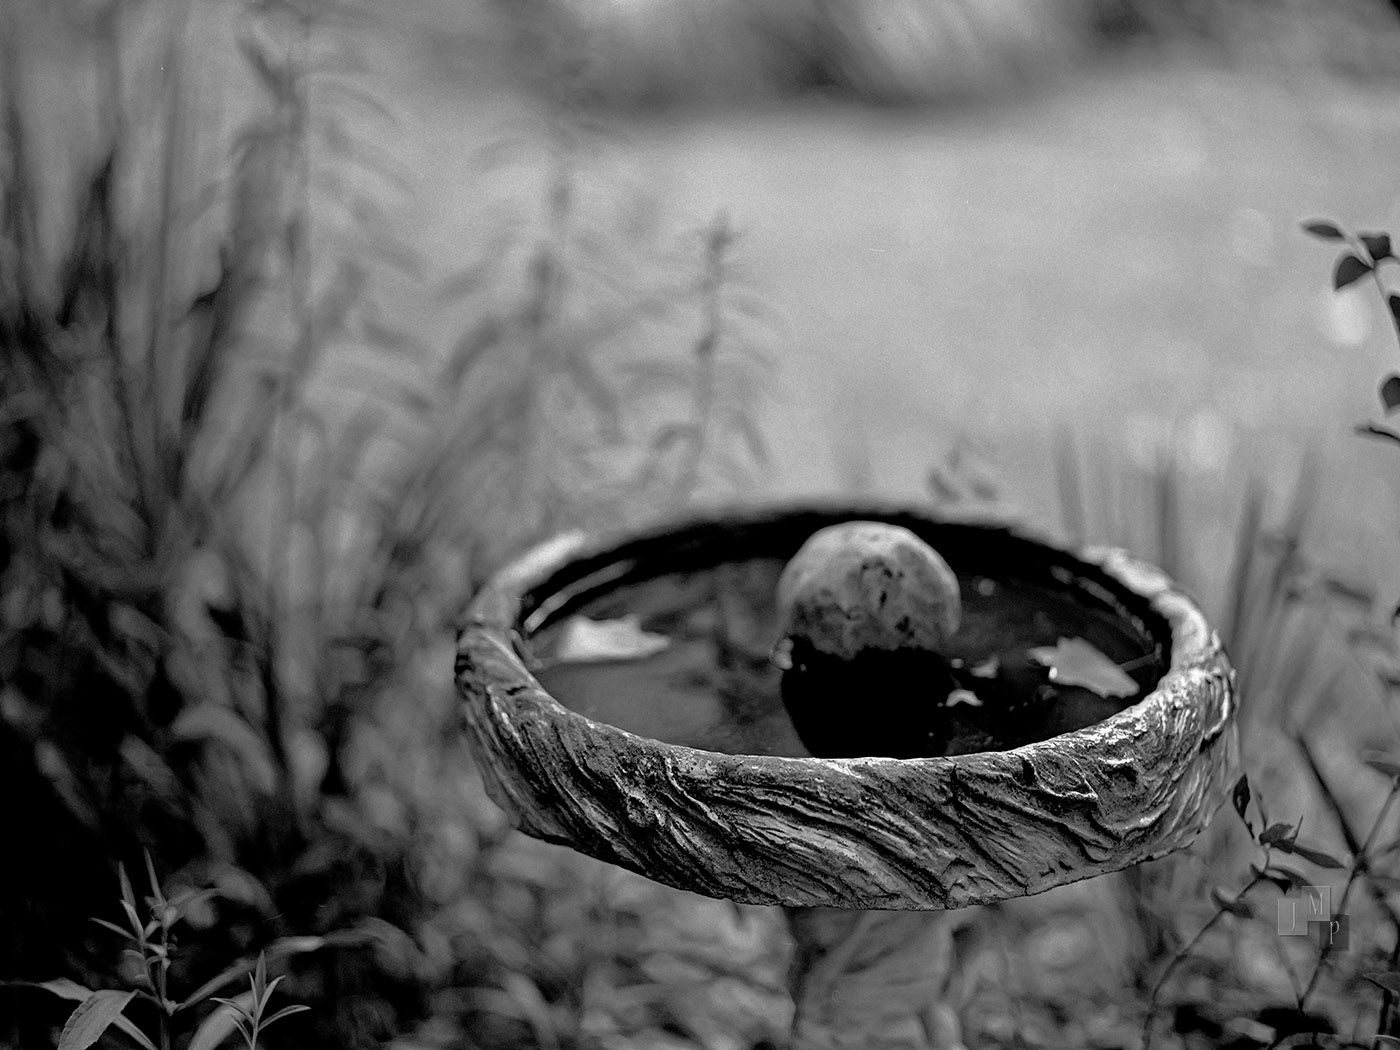
I ran into something within distort and warp. I can not pull the handles outside the original canvas size. The birdbath is distorted by the lens I was using, and being near minimum focus distance. I wanted to drag the top right corner down - then pull that whole side up out of the frame, but FP only allowed distortions within the frame? (see screen shot)
I’m becoming more familiar with FP every day. Congrats Patrick on 700 Github stars - I can see why.
Used the “Noir” preset (nice) and noticed it cleans grain a little too - cool! This is from a Pentax 6x7 with the “legend” the Pentax Super Multi-Coated Takumar 67 105mm f/2.4 wide open. Ultrafine Xtreme 400 film at 800 iso Xtol 1+1 16min at 20C
Good thing - Can’t lose my memory with my vision. 
I’ve pointed FerrumPix to other applications in settings in every install on every platform, whether native or in a VM. In Win11 figured I could access the plugins I already own, and yesterday I tried handing off the photo to a stand alone program. I couldn’t find where the “edit in”____ menu is located? I wanted to check out the hand off, and hand back to FerrumPix process. Is this something not quite fully implemented?
I also tried it on a Win10pro box, and the antivirus had a fit. Judging by it’s messages “it wants to have a closer look”, but finally gave me permission (temporary?) to run it.
Lastly, I tried to install FerrumPix on my mac mini (M2) running Tahoe 26.xx - anyway, even with the command lines it is giving me only two options. Trash it, or cancel?
Hi Jim,
haha, good to hear the memory is still holding up.
About the stroke: that’s actually in now. Since 0.9.61, once you have a selection you can give it its own outline directly in the Selection tool, width, color, inside/center/outside, hard or soft edge, plus fill, shadow and glow.
And in the latest build, 0.9.61-3, the Frame effect works more like the other objects too. Turn it on with the Active box and you get the same Fill, Shadow and Glow controls as with text, including gradients, inside/outside shadow or glow, and a margin so the frame doesn’t have to sit right on the edge.
If you get a chance to try it, I’d be interested to hear how it feels in practice.
For handing an image off to another program: anything you add under External programs shows up under Open with when you right-click an image in the Gallery or Viewer.
It’s not available from the Editor at the moment. That’s deliberate for now, because FerrumPix would only hand over the original file, without your edits, and there’s no automatic round trip back. You save the result in the other program and then open that file again in FerrumPix.
The exception is G’MIC. If FerrumPix finds gmic_qt, you can use Edit in G’MIC from the editor footer- or the layers contextmenue and the result comes back as a new layer. Photoshop .8bf plugins unfortunately can’t be used directly.
About the Windows 10 antivirus warning: that’s because the installer and ZIP aren’t code-signed. FerrumPix doesn’t make any money, and signing certificates cost money every year, so I haven’t gone down that route yet. Defender and SmartScreen are naturally more suspicious of unsigned software, especially when it hasn’t been downloaded by huge numbers of people.
If you want to avoid those warnings, the Microsoft Store version is signed by Microsoft.
The Mac is basically the same story. The builds aren’t signed or notarized there either, and Tahoe is pretty strict about unsigned apps. The “Move to Trash” / “Cancel” message is Gatekeeper blocking it, not necessarily a bad download.
A couple of things worth checking:
make sure you have the arm64 build for the M2, not x64
make sure FerrumPix is actually in /Applications/FerrumPix.app before running the commands
afterwards, start it with open /Applications/FerrumPix.app rather than double-clicking a copy that’s still sitting in Downloads
If it still refuses, check System Settings > Privacy & Security right after trying to start it. There’s often an Open Anyway button there.
And if that still doesn’t do it, send me the output from the two commands and the exact message macOS gives you. The Mac builds are still experimental, so that would be really useful.
Thanks again for testing FerrumPix on such a collection of machines.
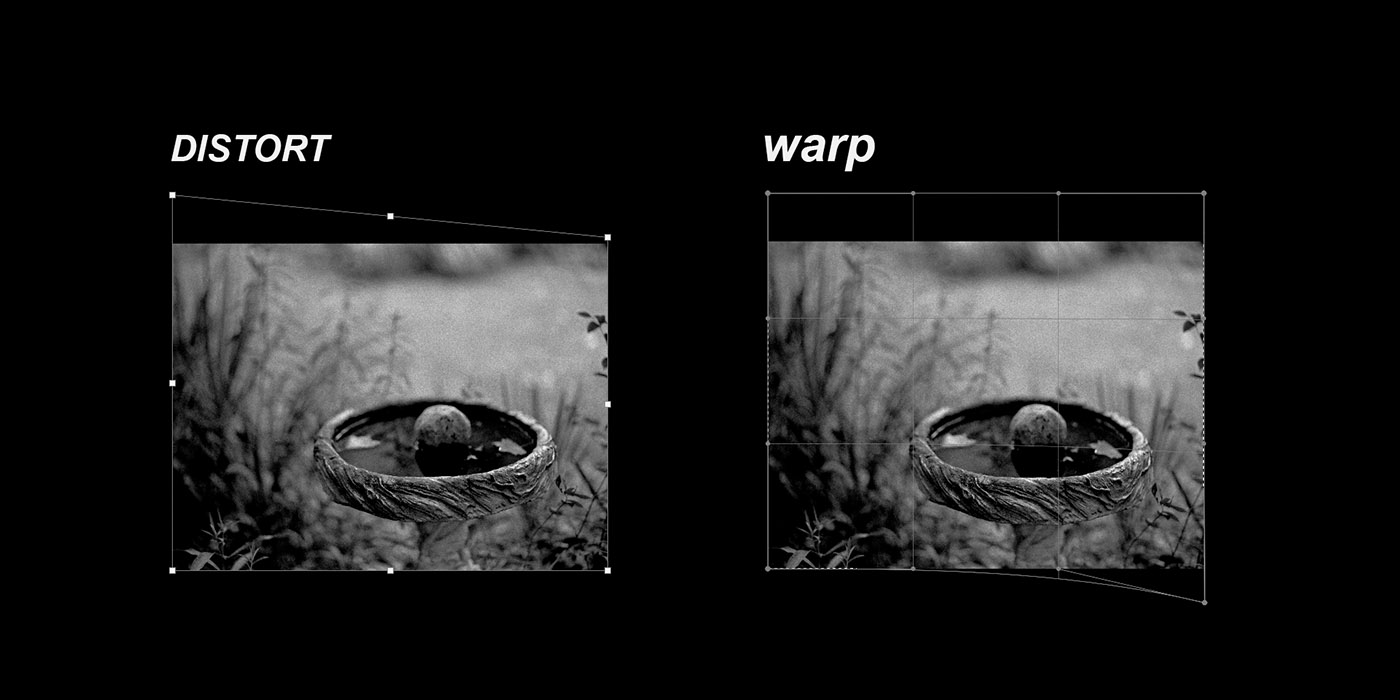
Here is where I was headed with the distort and warp. Screenshots can illustrate it better than I can express it.
Final result - not toned - though I have my own “Noir” action set
Hi Jim,
thanks for the screenshots, they made it really clear what you were after. And you were right: FerrumPix didn’t let you do that so far. The handles in the Distort tool stayed inside the image, so there was no way to pull a corner out past the edge like in your example.
That changes with 0.9.61-4. In the Distort tool, Grid, Warp and Lines now let you drag points past the edge of the picture. For your “distort” example, Warp is the closest match: grab the two top corners and pull them up and out. As long as you only move the corners, the edges stay straight; if you pull the handles in between, they bend like in your “warp” example.
A few things that might help:
If you give it a try, I’d love to hear whether it fits the way you work.
I have an old Thinkpad M520 2 core 4 thread 2.4ghz intel with mx 23.6 and 1366x768 display. You can configure it to be usable even on this old laptop. Amazing!
Patrick,
The reason I have so much old hardware is because I’m the father of seven. I built so many computers I lost count. Today’s subject is a present from some of my grandkids.
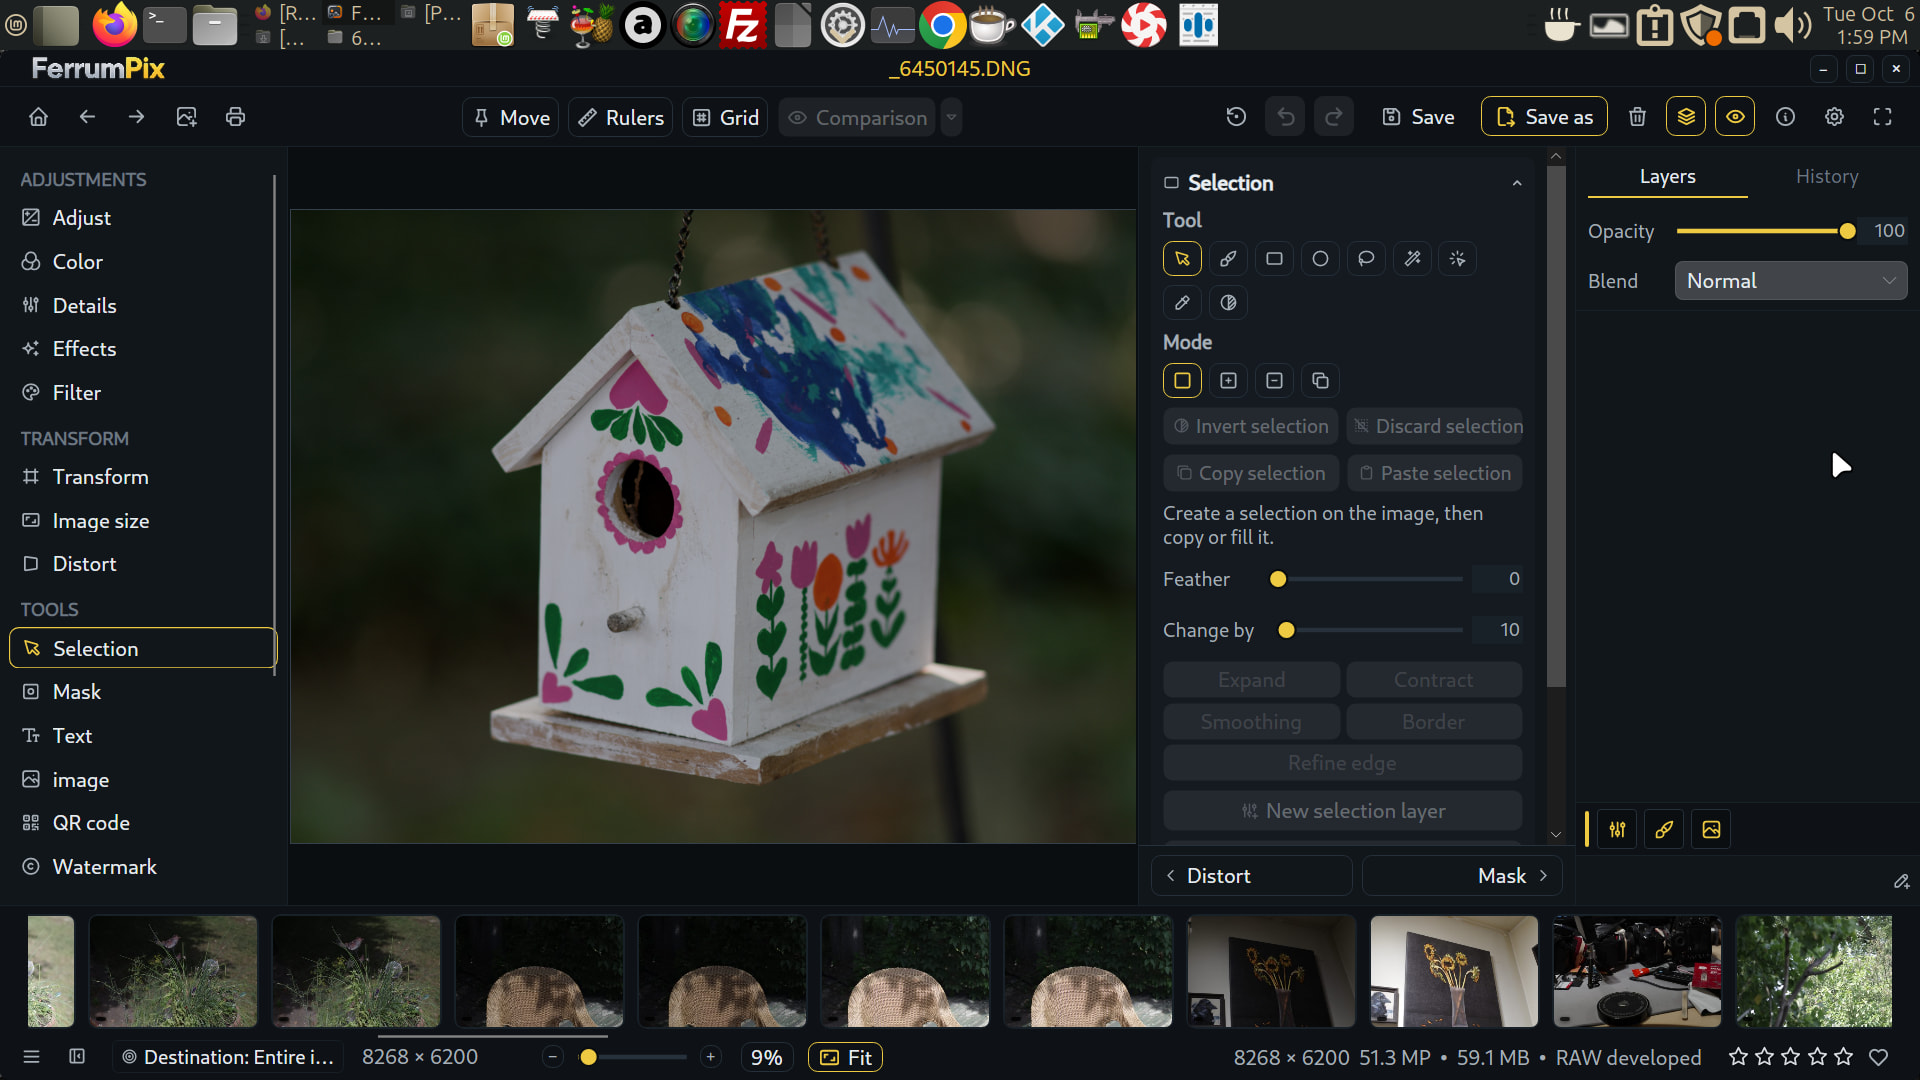
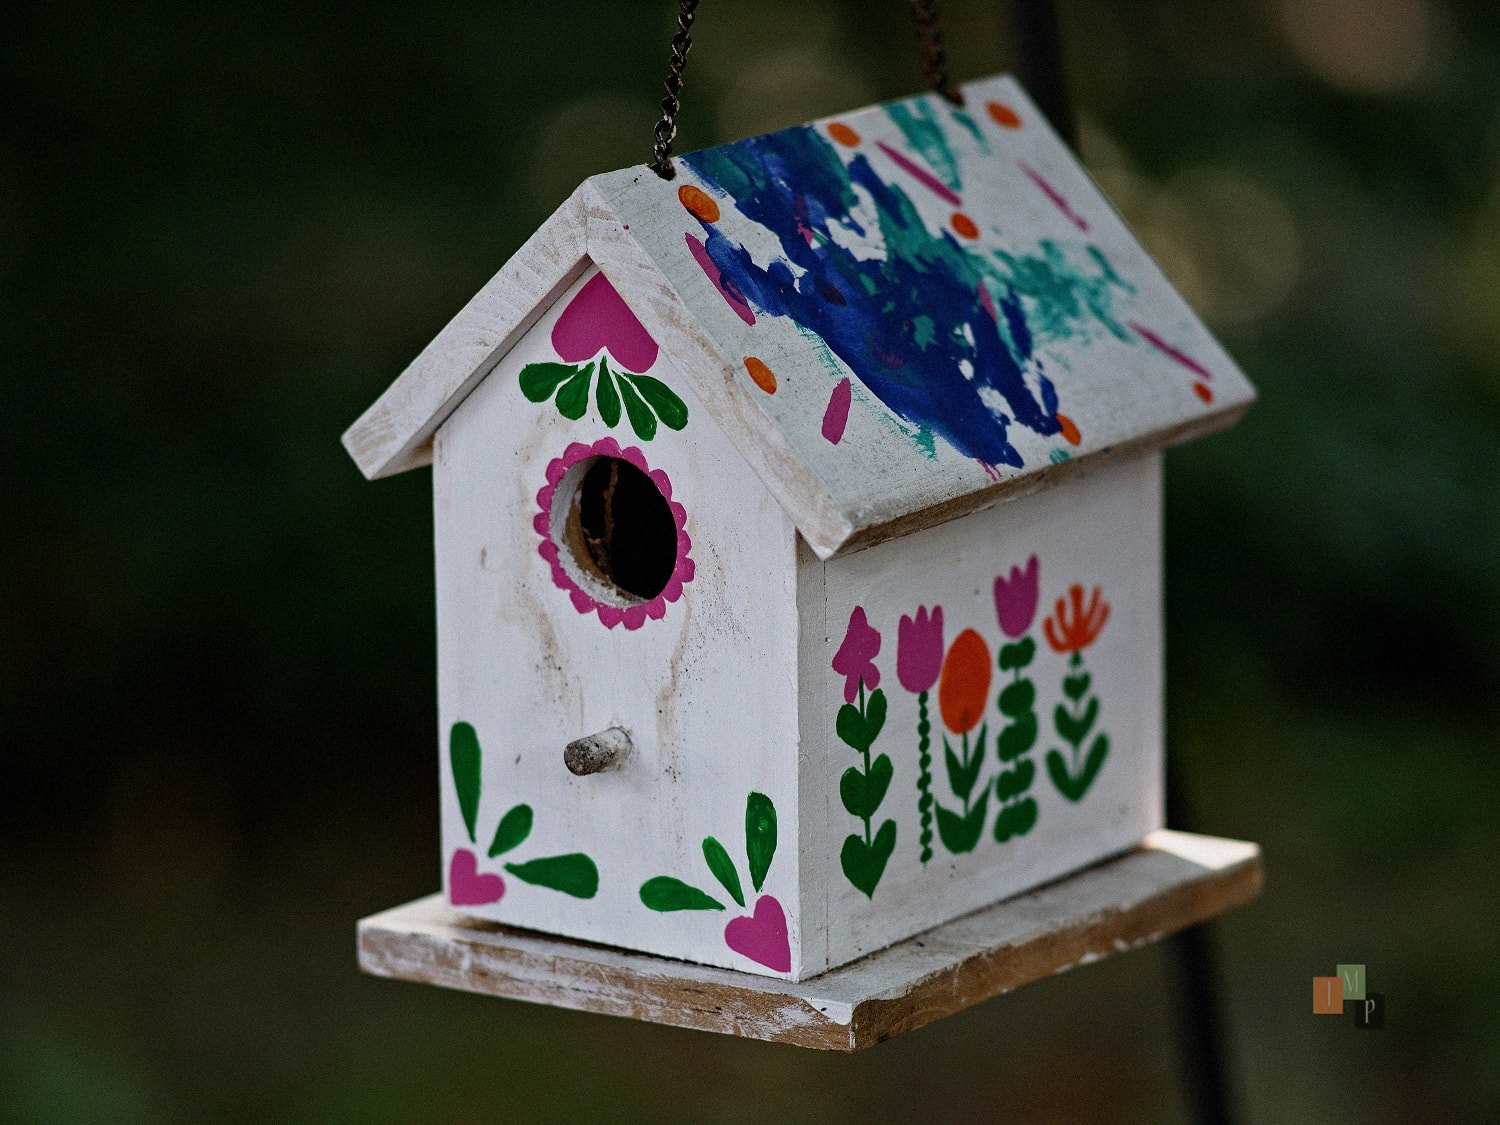
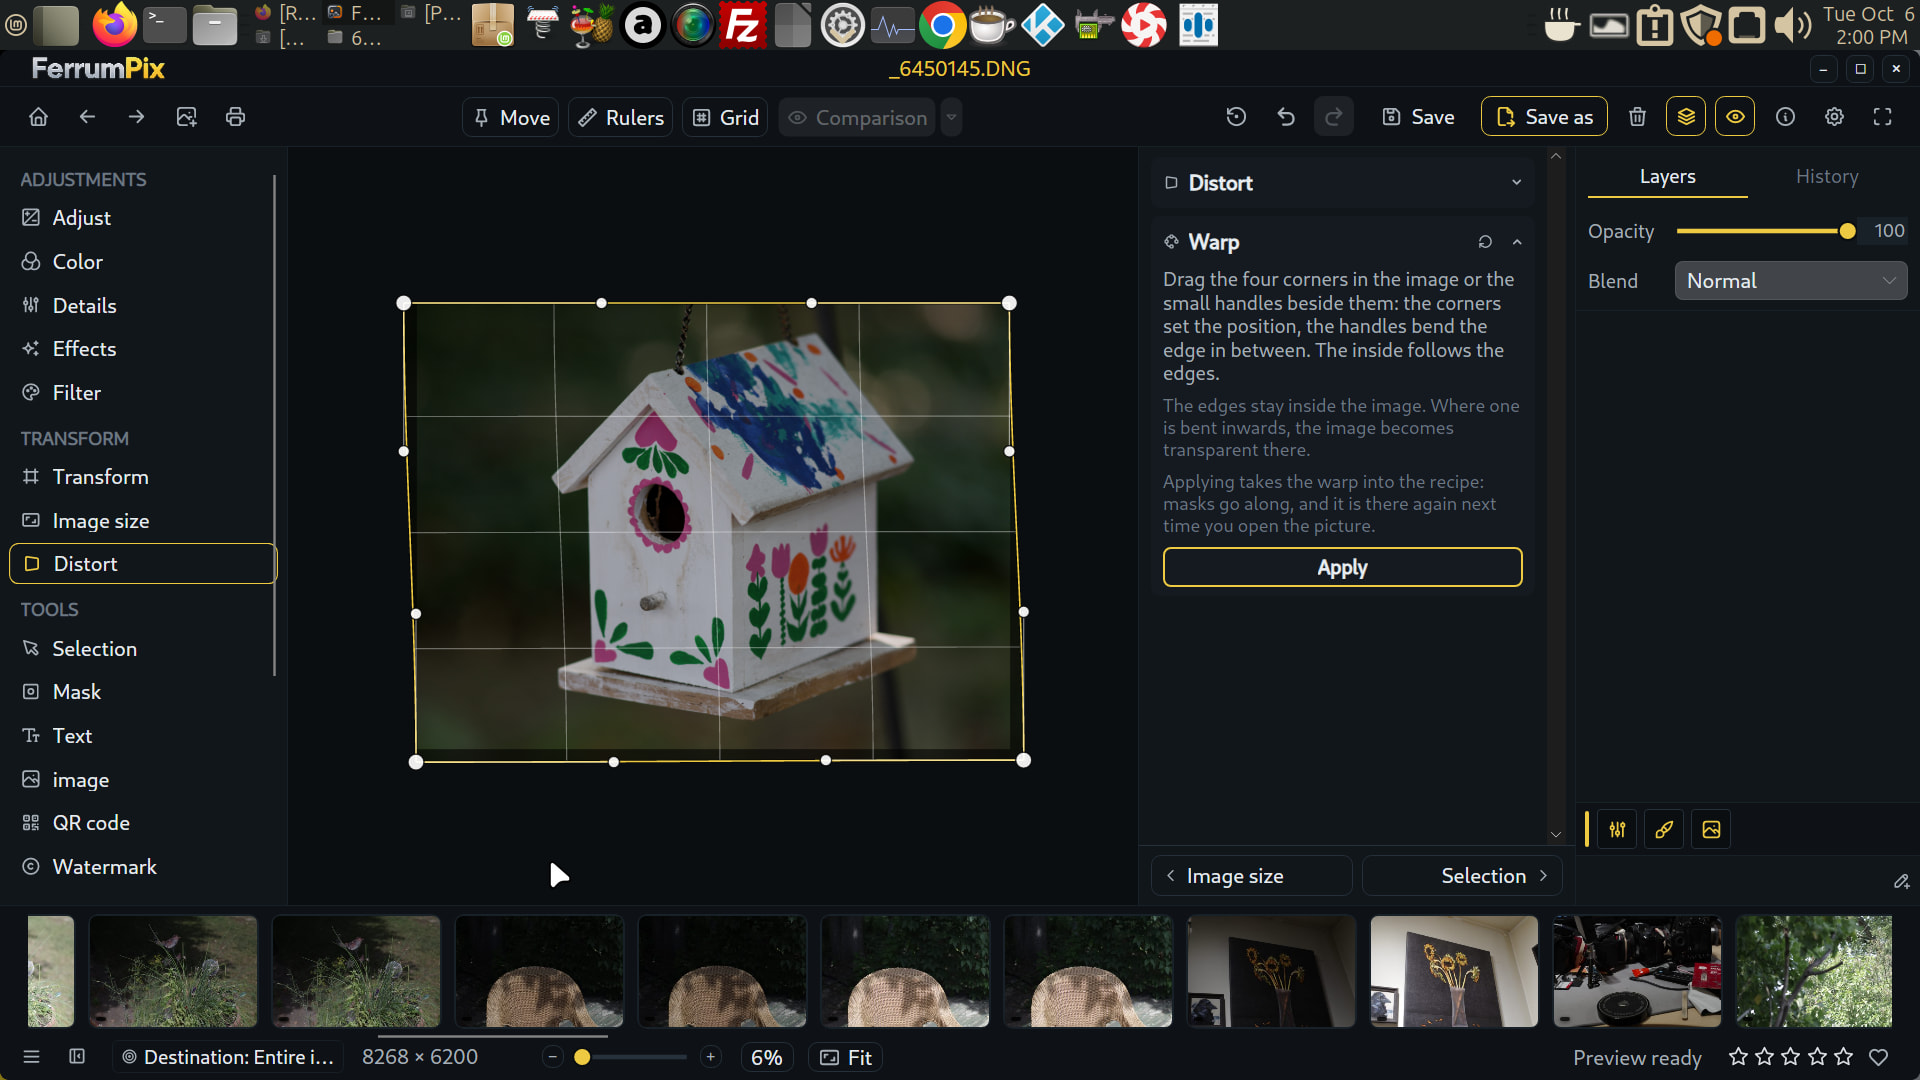
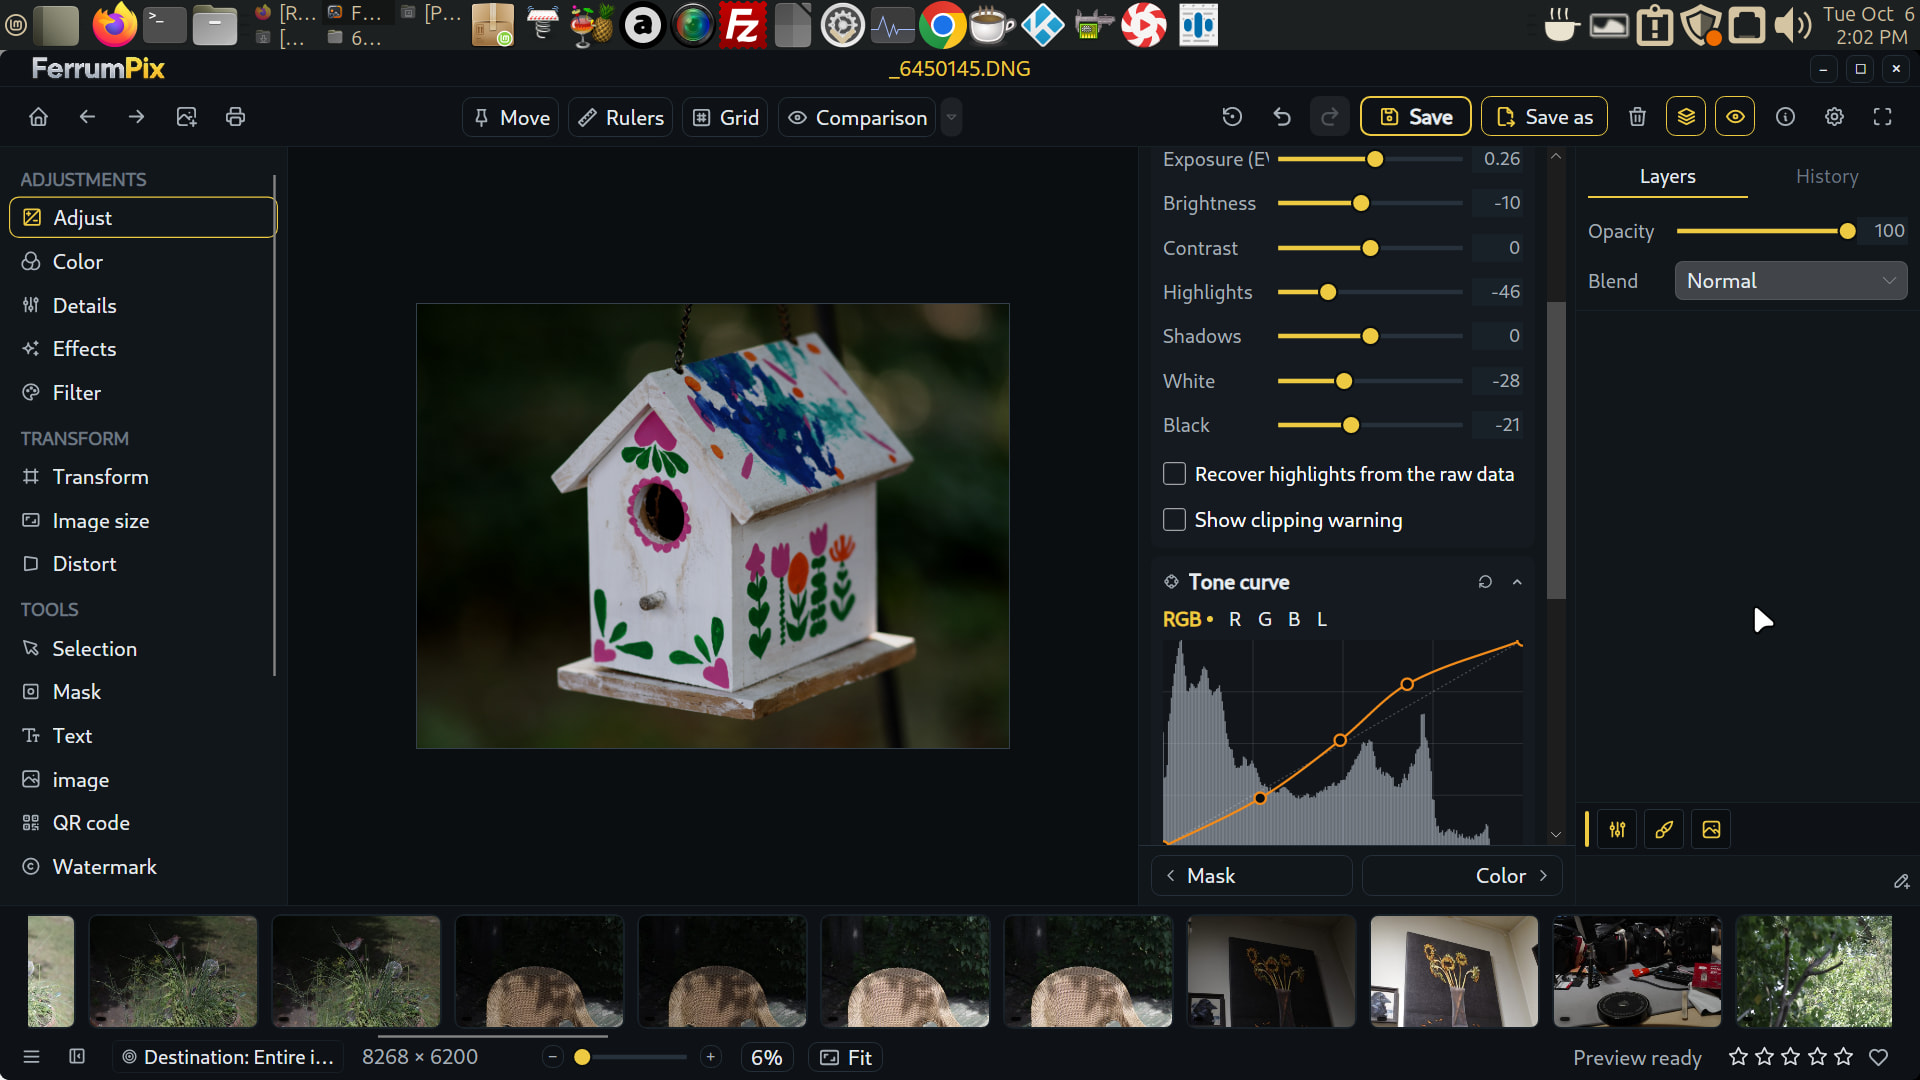
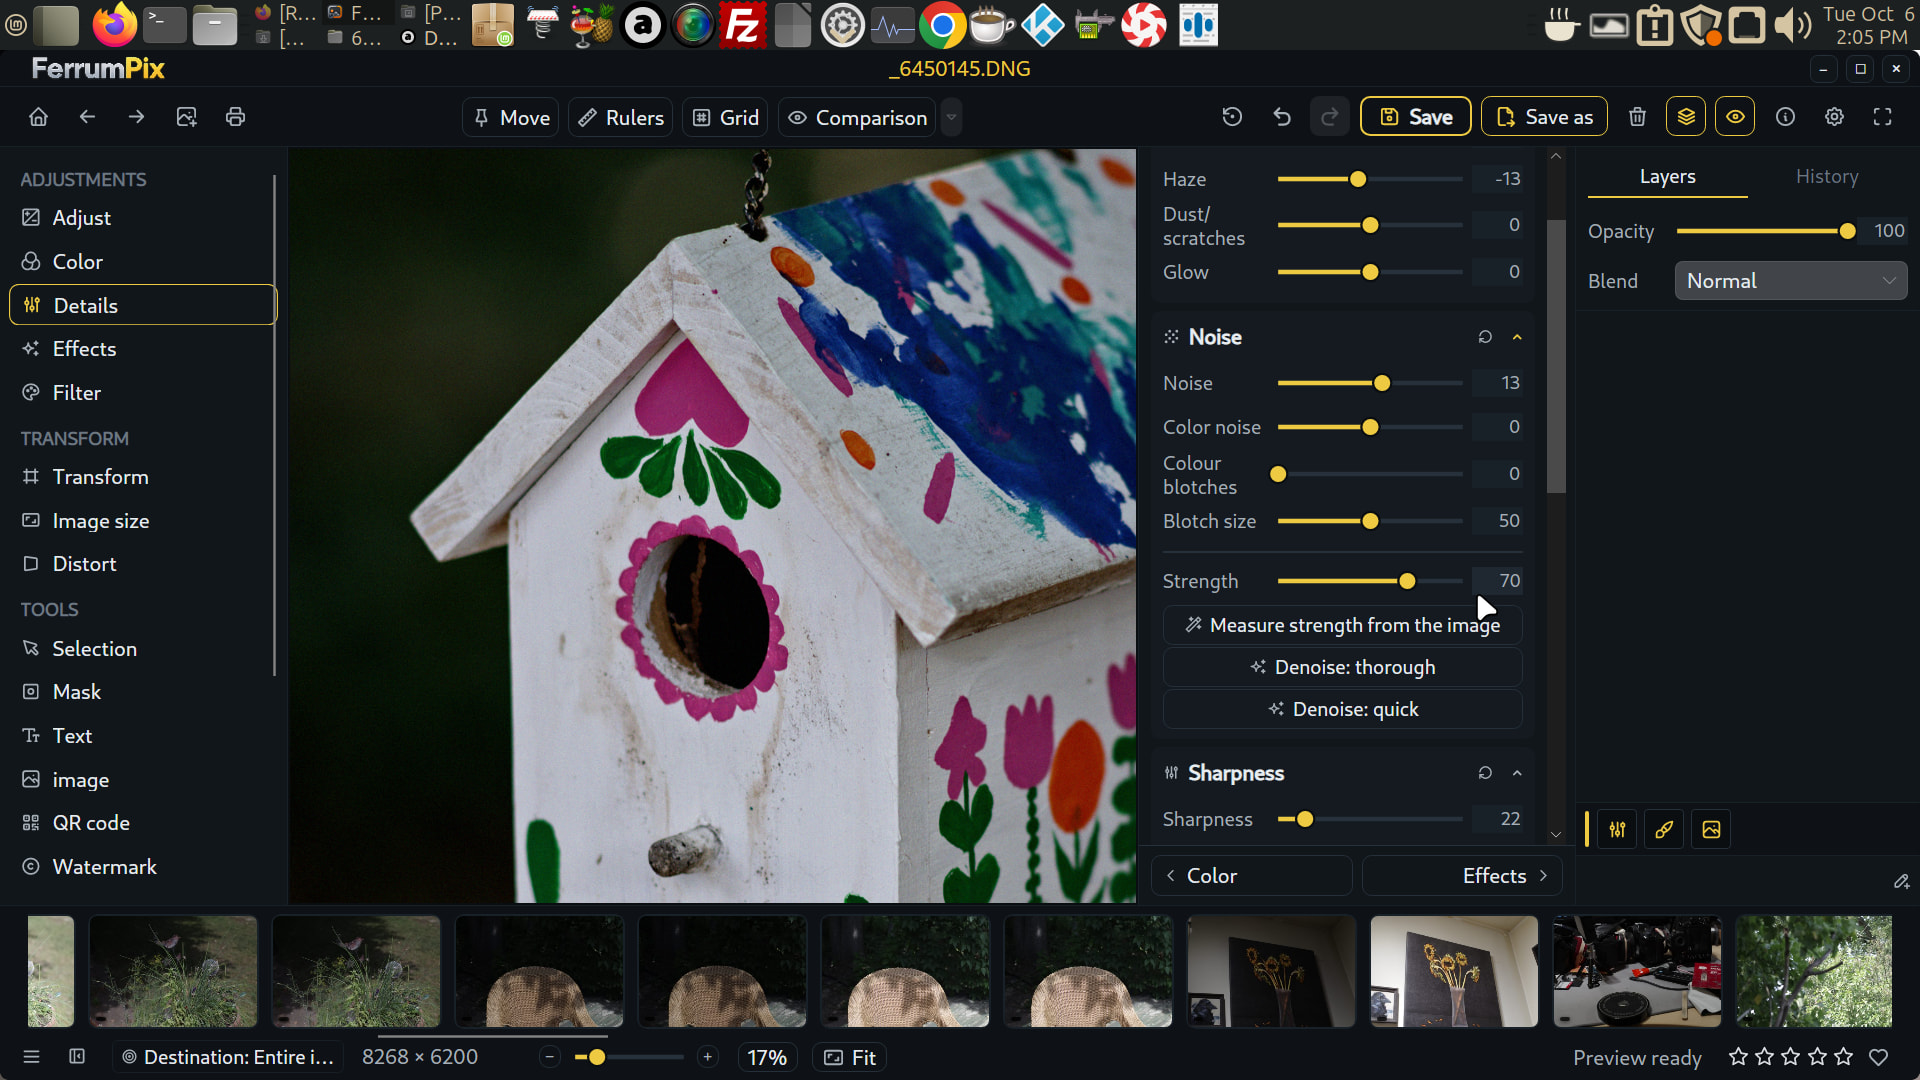
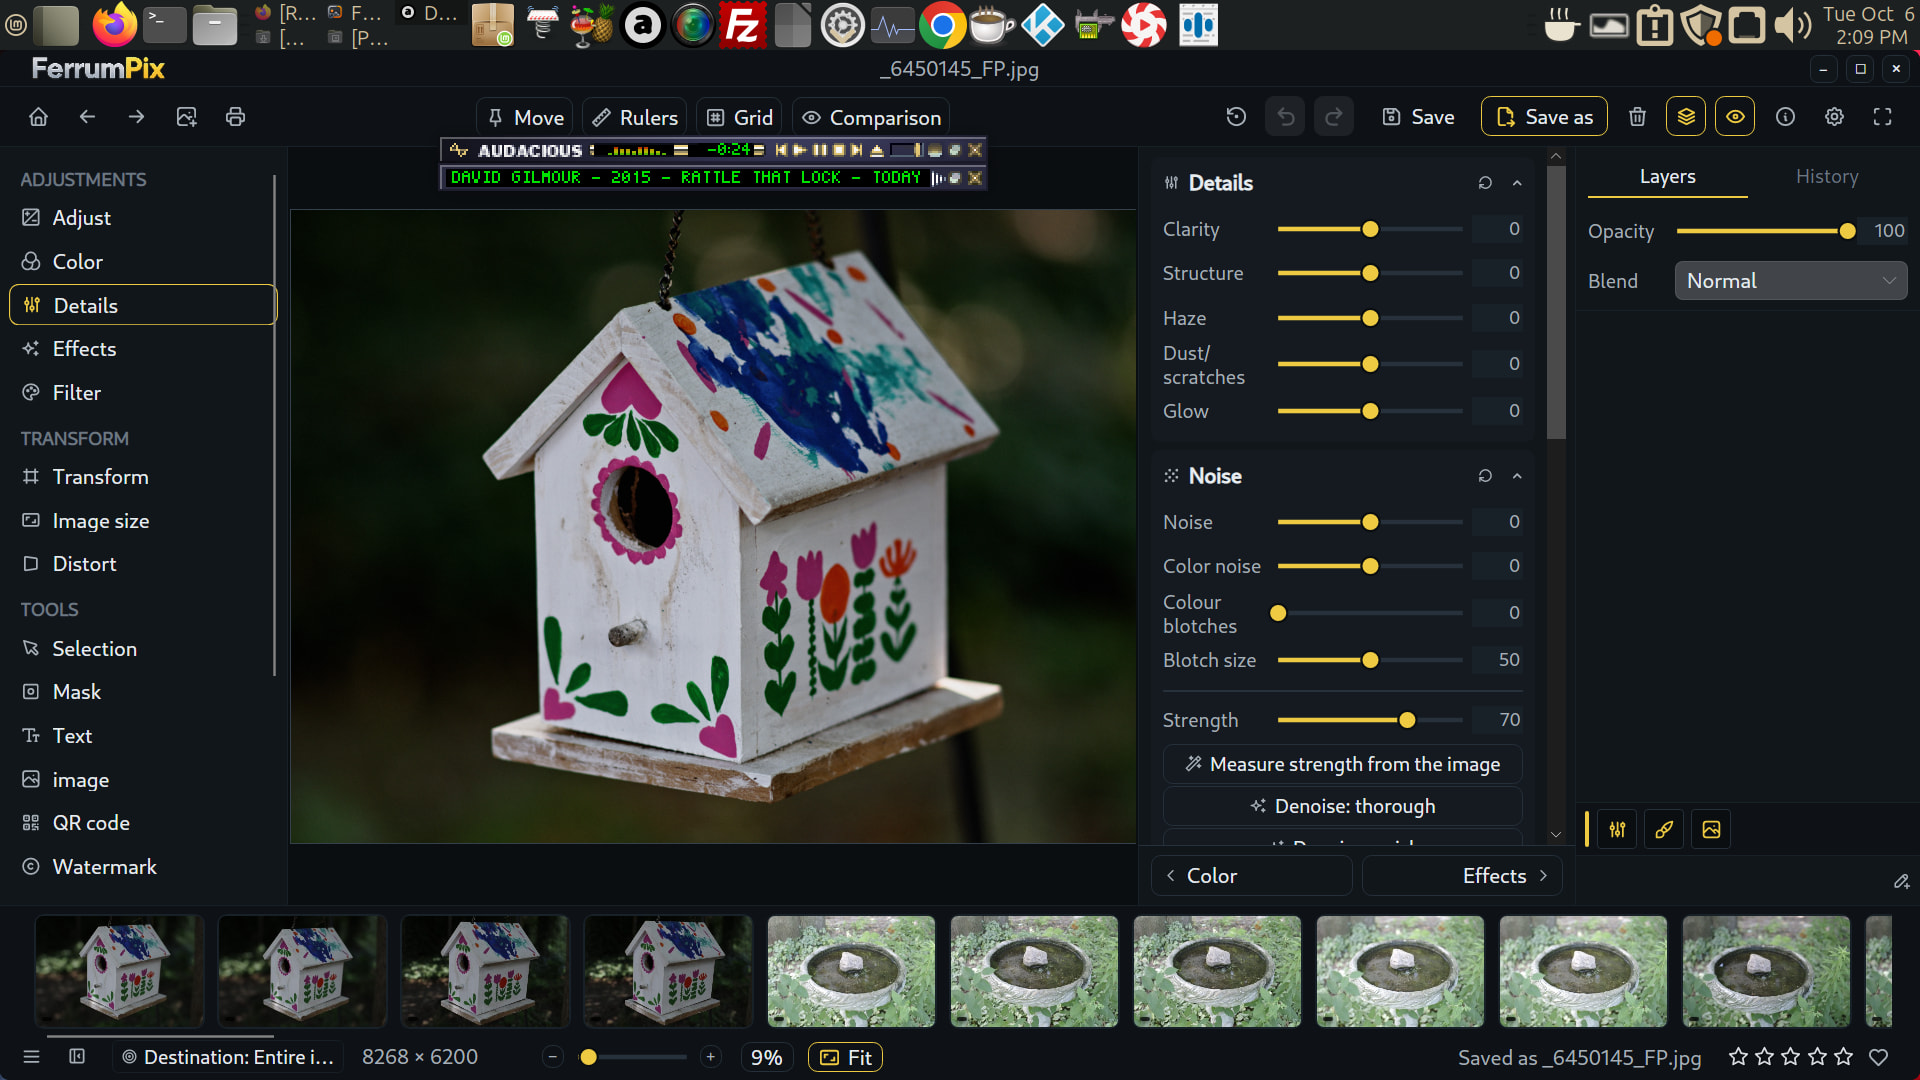
I ran into only one minor thing using your latest fixes. I’m going to use images to explain. Pentax 645Z with P67 adapted 200mm f4 lens
Final Image
Step one - Distort
Step two - Adjust
Step three - Fine Details
Step four - Review with music
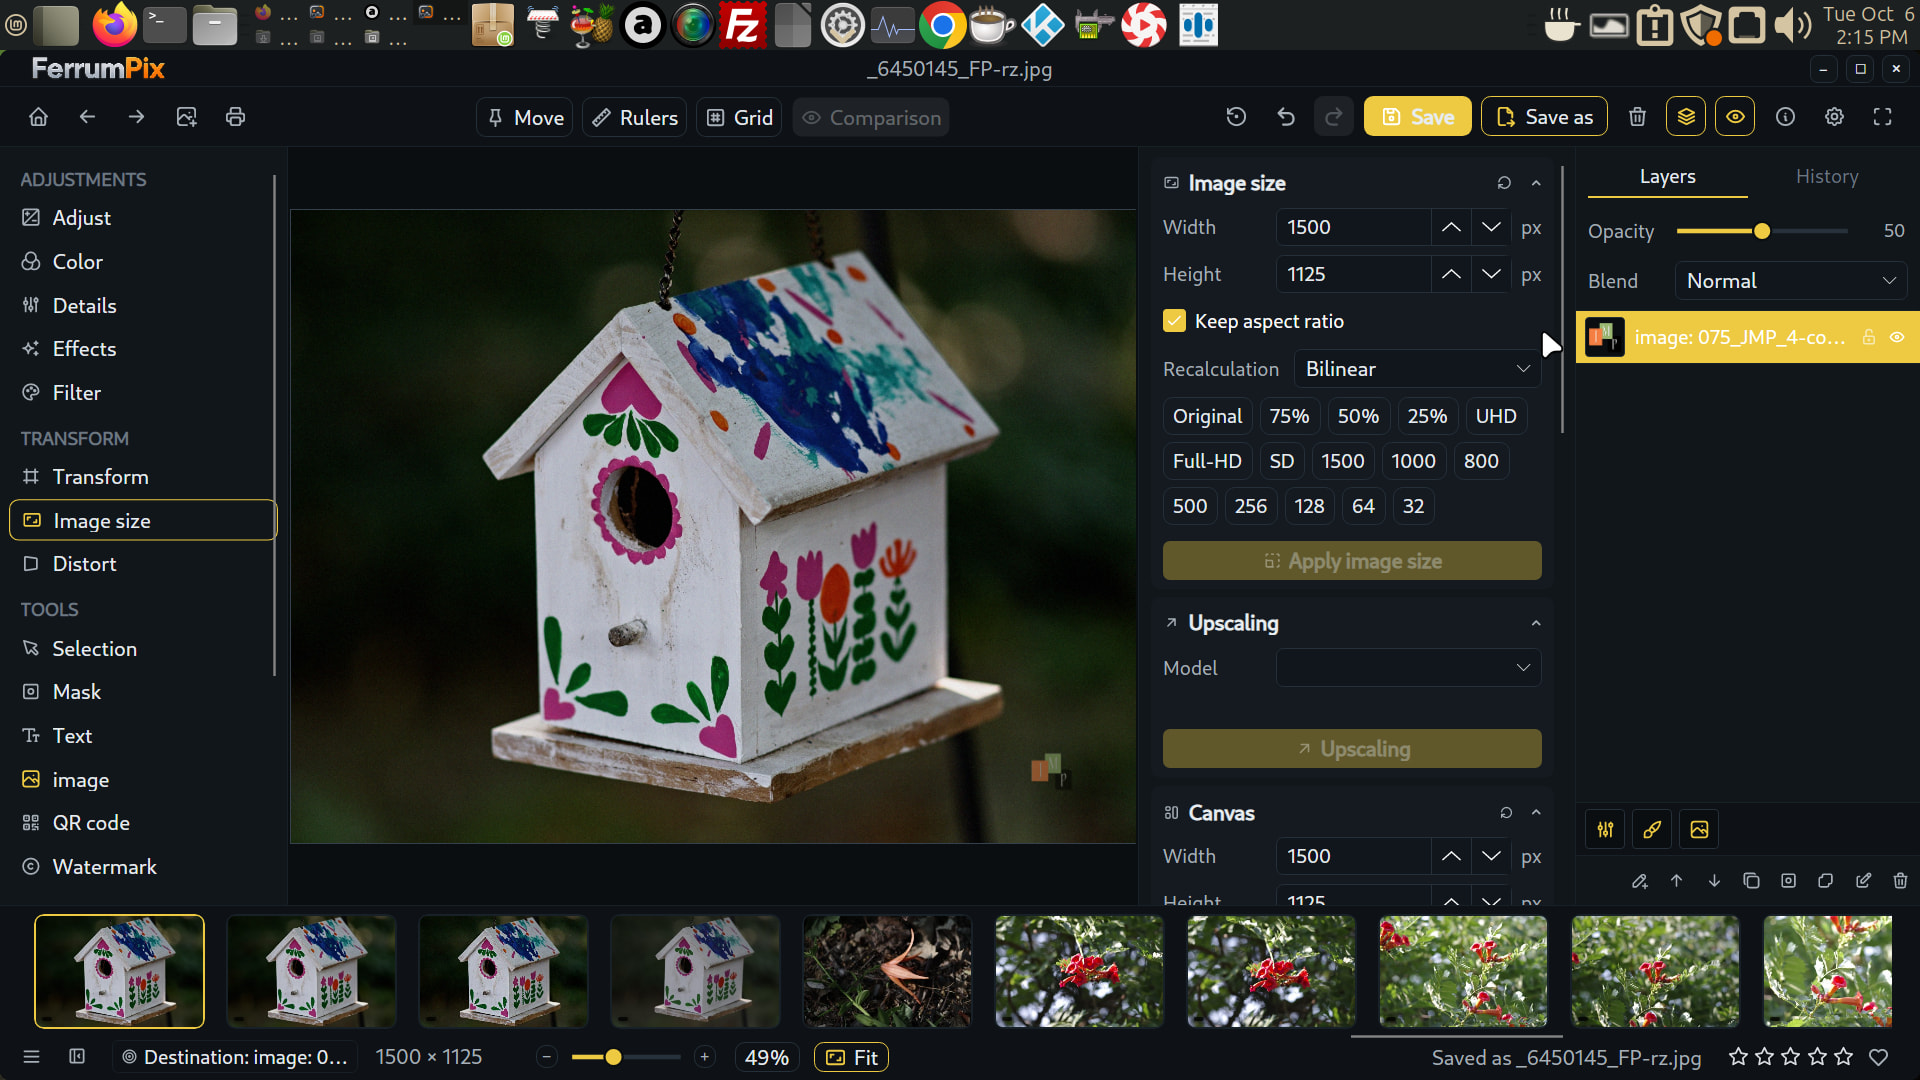
Step five - Image size (Uh oh, the buttons changed back to the harder to read version
I still can’t believe how fast this has all happened. I have never been in a position where things mentioned are addressed so fast. Thank you Patrick.
Jim
Hey Jim,
is it possible that you have different FerrumPix versions installed?
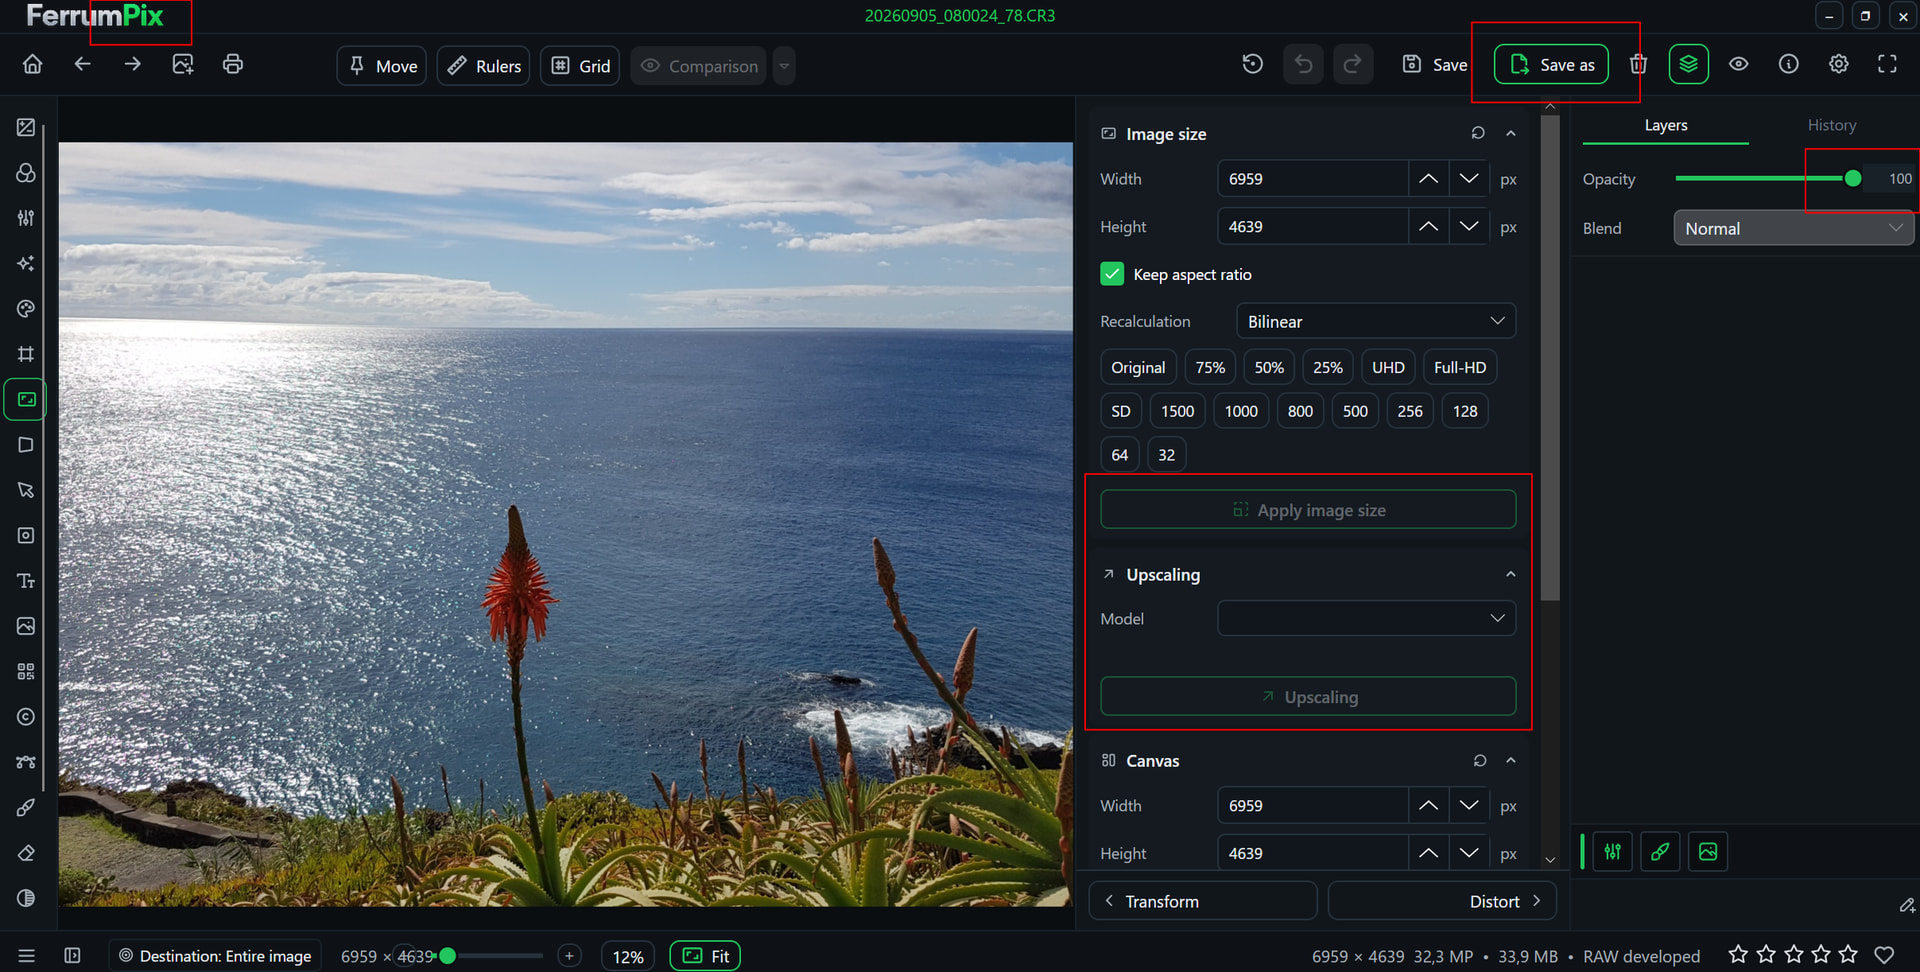
Your latest screenshot doesn’t look like the current version and it also differs from the screenshots you posted before. Have a look at my screenshot, I marked the areas where I noticed the differences.
Could you check which version is running there?
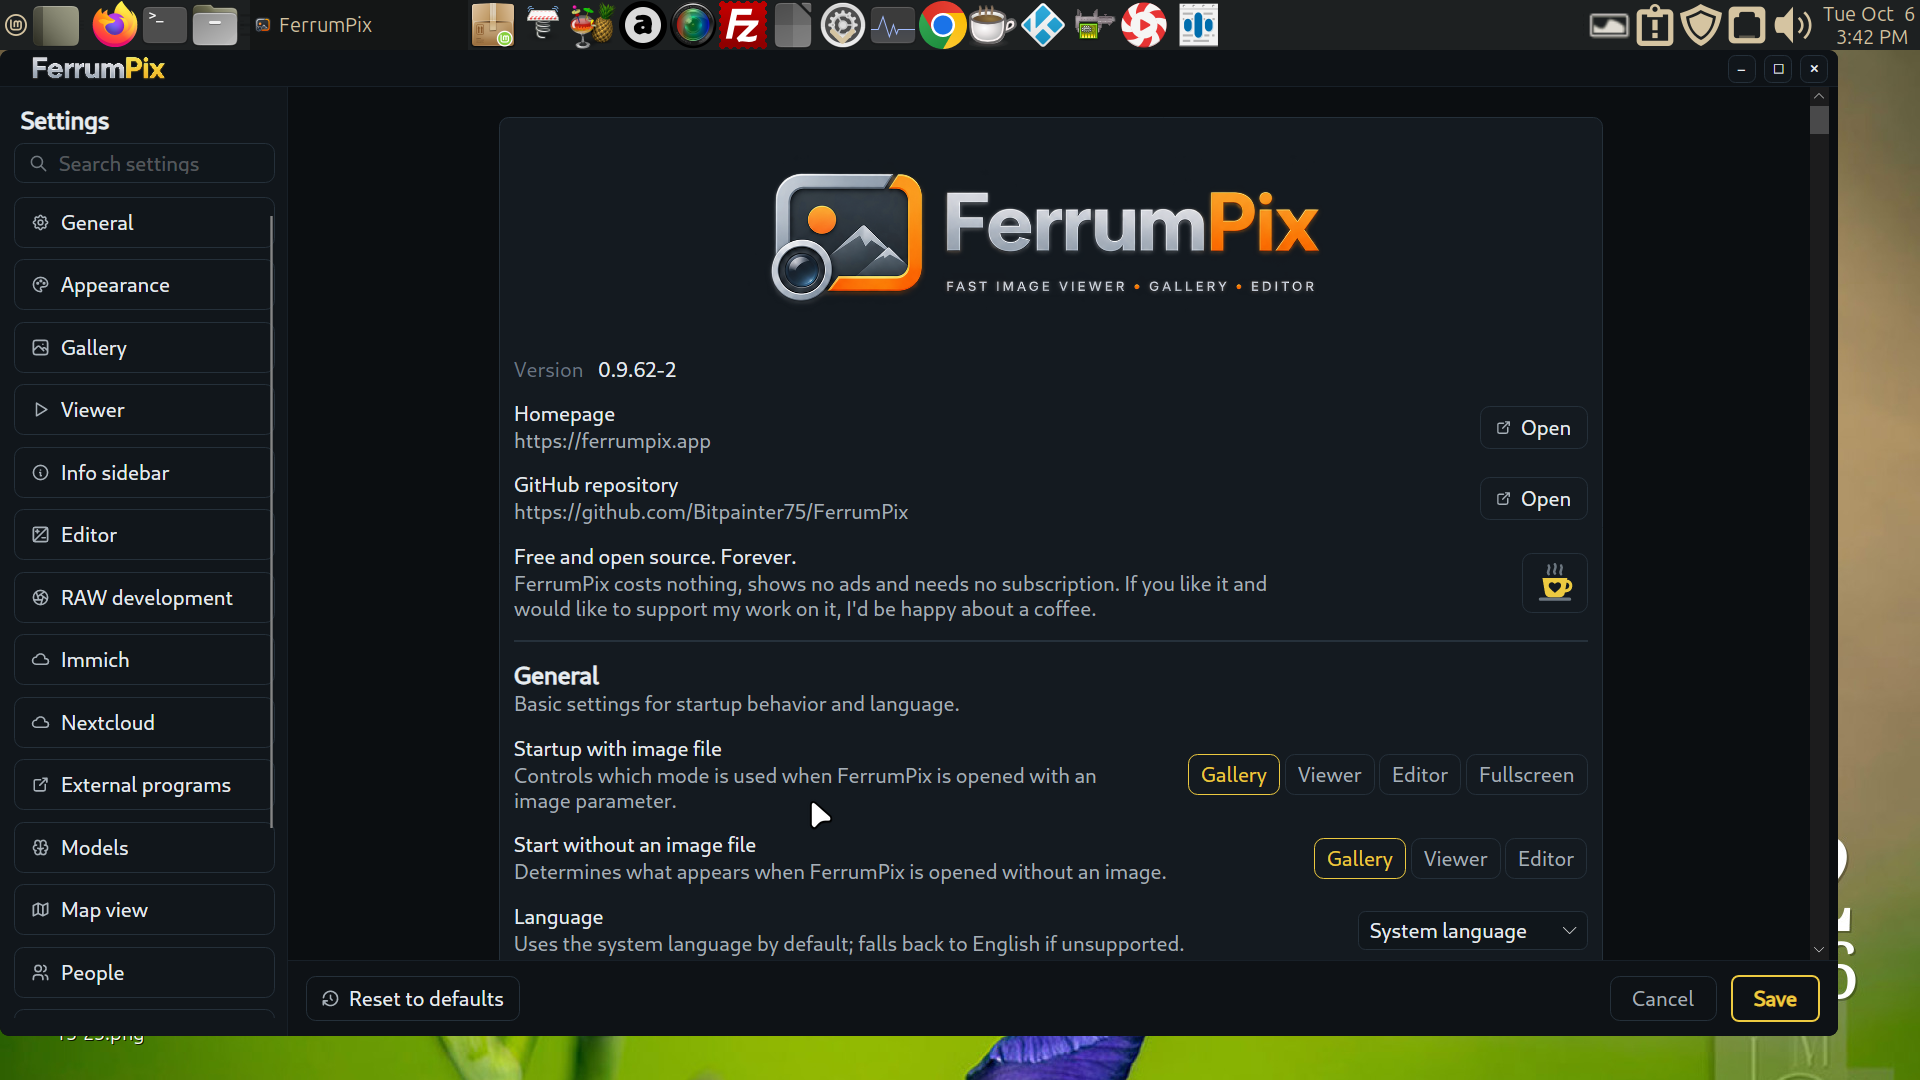
i do have different versions installed depending on which computer I am using. The one I use the most is a VM of UbuntuMint 22.3 MATE DE - I have used seven different versions of FerrumPix on it. I thought Appimage ran the applcation from a single container/file - oops, I see it has turned up in Graphics. I must have used a deb file atsome point. I only intended to use the deb’s with debian.
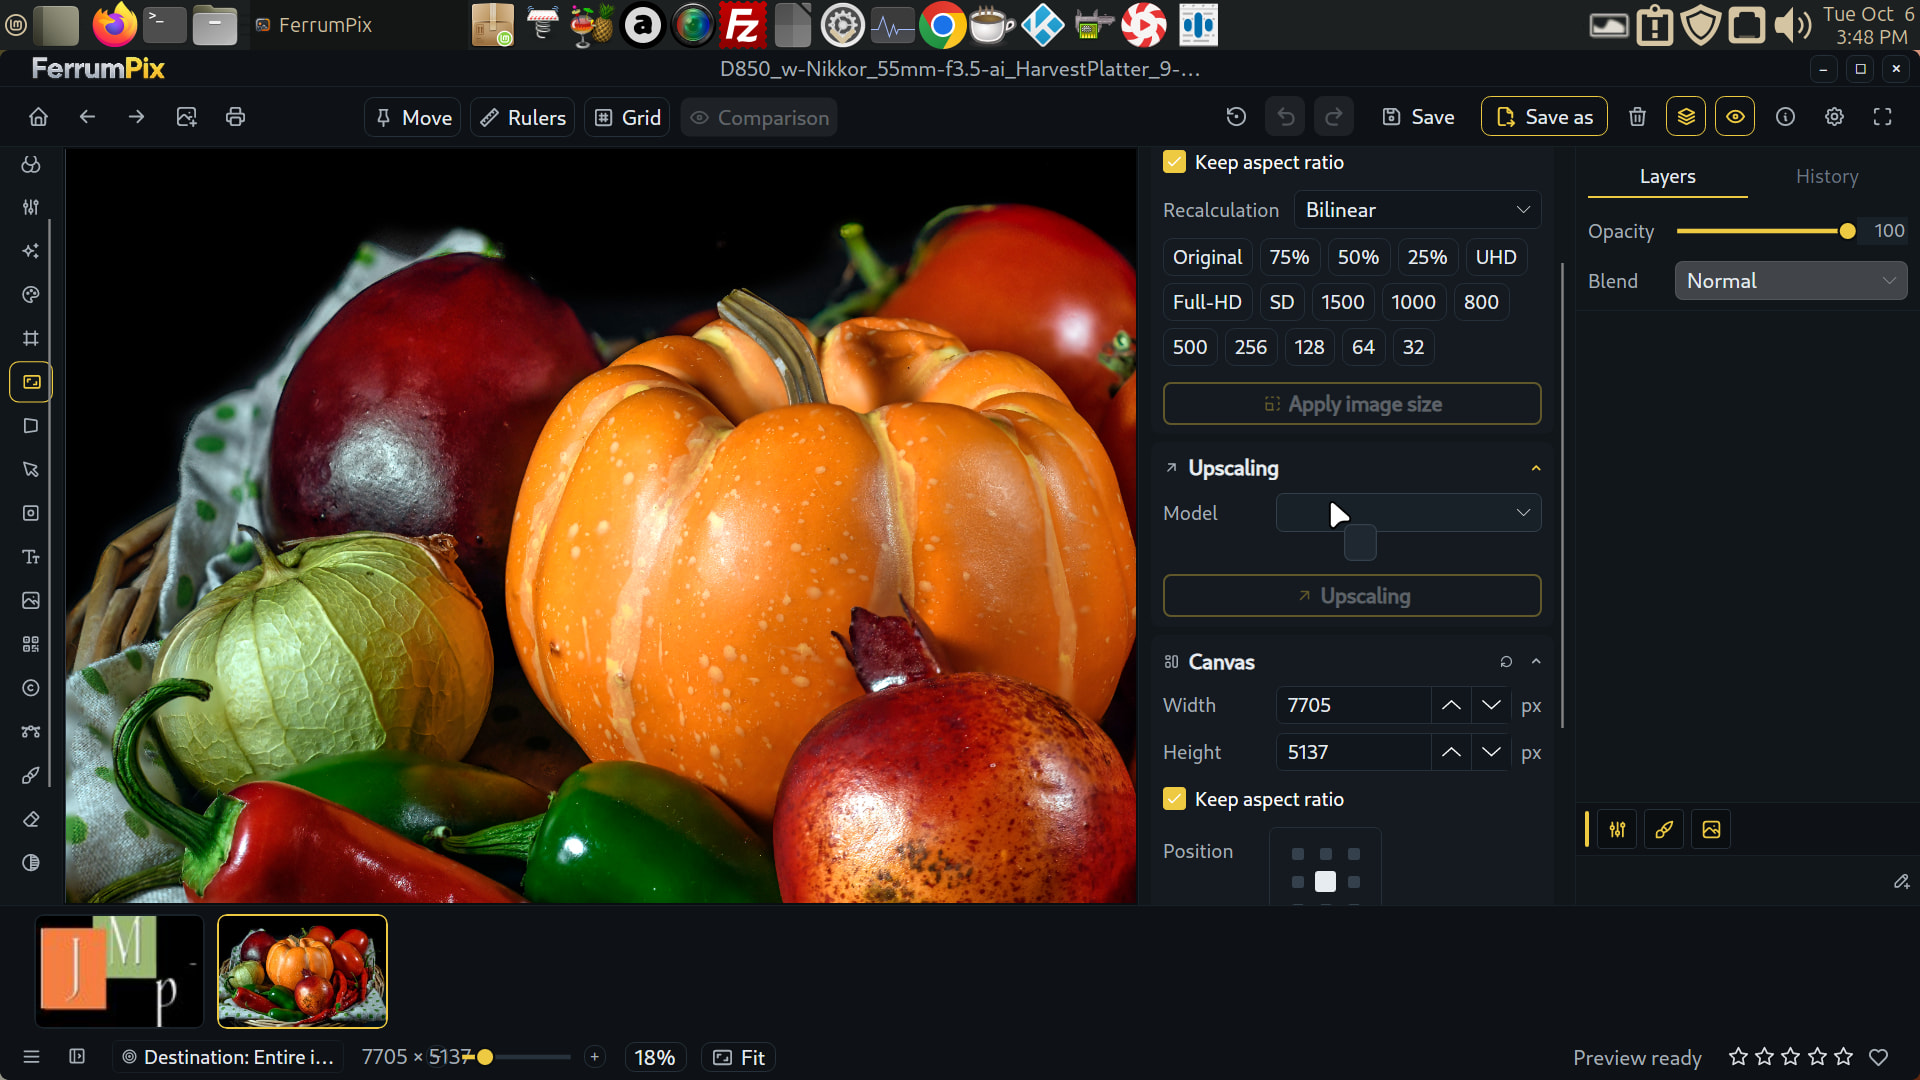
I imaged that last one in one go in the latest version I dl this am. here are the screen shots
Ah, that explains it.
The AppImage itself really is just one self-contained file, so simply running different AppImages shouldn’t install FerrumPix into the system. If it’s showing up in the Graphics menu, then you probably did install one of the .deb packages at some point, as you suspected.
With several machines and several FerrumPix versions around, it’s pretty easy to lose track of which one is actually running.
For the AppImages you might want to have a look at Gear Lever. It can integrate AppImages into the application menu, keep them organized in one place and also manage updates, which makes this kind of thing a little easier.
For testing FerrumPix I’d probably stick to either the AppImage or the .deb on each machine rather than having both installed at the same time. That way it’s much clearer which build you’re actually launching.
Hey, I’m sorry about that. I uninstalled the deb pkg. I found an 8th (the first version I tried in the trash) the deb was v0.9.52-3. You got to admit - your update pace is fast.
The release pace will slow down a little for now. I’m taking a week off at the North Sea and then I’ll continue with fresh energy.
FerrumPix has reached the point where I’d consider it feature complete for 1.0. From here, the focus will shift more toward polishing, fixing edge cases and improving stability rather than adding major new features.
There’s still work to do before I call it 1.0, but it honestly doesn’t feel that far away anymore.
Thanks again to everyone testing, reporting bugs and sharing feedback along the way.