I downloaded the .deb file and will give it a try. I also downloaded the appimage, in case there is dependency issue with the .deb file.
4 Likes
A small update from my side, FerrumPix has reached 0.9.50 now. 
One of the bigger additions is a new Map view in the gallery. If your photos contain GPS data, they can now be shown by where they were taken, with clusters on the map and a filmstrip for browsing the photos at a selected location. Since the map needs online tiles, it is disabled by default and has to be explicitly enabled in Settings. Previously loaded tiles are cached locally, and the tile server can be changed.
There is also a new comparison option for RAW files: FerrumPix can now use the JPEG preview embedded by the camera as the “before” image. I find this quite useful for quickly seeing how the current RAW development differs from the camera manufacturer’s own rendering.
Dehaze has also been reworked. It now concentrates much more on the hazy parts of the image instead of simply increasing contrast across the whole image, which should preserve clear shadows much better.
A few smaller things landed as well: the editor now has the same Z/F navigation shortcuts as the viewer, Lightroom/darktable sidecars keep the full ±5 EV exposure range for local adjustments, several lens identification cases were fixed, and lens correction is now properly preserved when reopening edited images. There were also fixes for CHDK DNG development and RAW-based project files.
0.9.50 also contain quite a few smaller fixes and workflow improvements that came from testing and feedback here, so thanks again to everyone who has been trying FerrumPix and reporting things.
6 Likes
I had an eye injection today. Im out of commission for a couple days
4 Likes
I hope everything went well.
Be careful and relax as much as you can.

4 Likes
I hope everything went well and you recover quickly, Jim.
And I really hope the eye injection wasn’t caused by looking at FerrumPix for too long. 
Take care and get some rest!
4 Likes
Another small update -
FerrumPix 0.9.52 is mostly been about polishing existing tools, fixing bugs and improving the workflow rather than adding big new features.
The histogram can now display RGB, individual red/green/blue channels or luminance, and the clipping warning is available directly from the analysis panel (or with J), so it can stay visible while moving between adjustment tools.
Pen and brush handling has also received some work. Pen pressure can now control brush size for painting, erasing and masks, and there is a new stroke smoothing option for both pen and mouse. Painting on layers, especially on larger images, has become considerably faster as well.
Selections can now be expanded, contracted, smoothed or converted into borders, and there is a simple red-eye removal tool. Text and object handling received quite a bit of polishing too, including multiline text alignment, more precise shadows, better object bounds and automatic contrasting colours when inserting text, shapes or brush strokes.
There are also quite a few smaller fixes around keyboard shortcuts, the map, FPX files, dragging files from the gallery and network folders. Unchanged watched folders on network shares are now checked several times faster during startup.
So nothing particularly spectacular this time, mostly making the things that are already there faster, smoother and a little nicer to use.
7 Likes
Welcome aboard, and best wishes on your photography and FerruxPix!
3 Likes
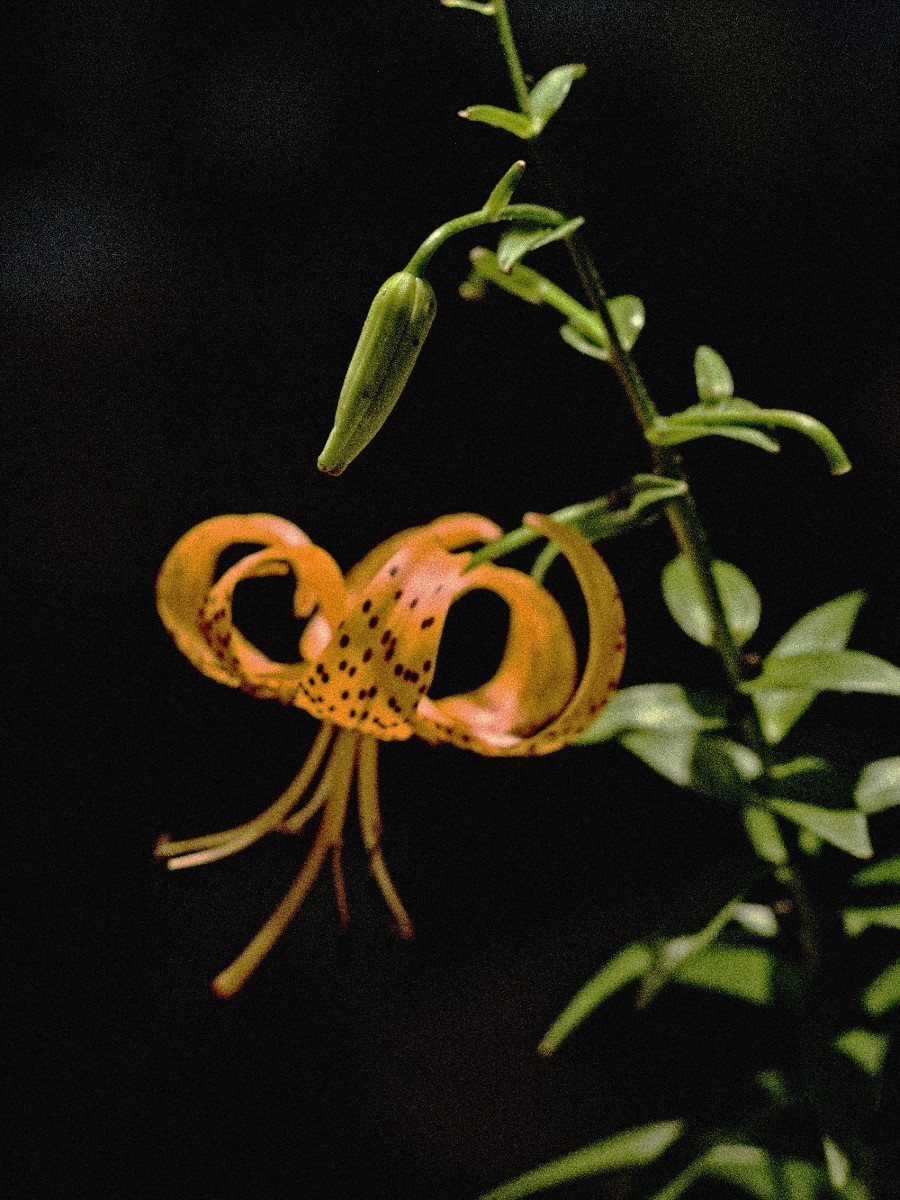
Thank you Patrick. It was not from FerrumPix. Thanks also for the other well wishes. Today I can see a bit better so I imaged a raw file and here is what I ran into in my semi-blinded state. I could not copy to the clipboard an image and paste it to another image in FerrumPix. (was going to drop a semi transparent logo on this image) Which prompts this question-can you have multiple images open in FP at the same time? Btw I used dehaze on the image, but I had to image it twice because I missed the “apply setting” button. I thought a “save as” would save the adjustments made to that point. Also, the font on the “Apply Setting” is cream, and the orange didn’t provide enough contrast - for me. Imaged from RAW (DNG) in FP v0.9.52
Pentax 645Z with an adapted Pentax 67 200mm f4 lens
4 Likes
Hi Jim,
good to hear your eyesight is improving a bit, and that tiger lily is lovely.
About copy and paste: that should work, so I’d like to figure out what happened on your side. In the editor, copying with Ctrl+C copies either the whole edited image or, if you have an active selection, just that part. You can also copy an image file from the gallery or file manager, or image data from another program, and then paste it into another image with Ctrl+V as a new layer.
If one of those methods did nothing, let me know exactly which one you tried and I’ll look into it.
For adding a logo, you can also drag the logo straight from the filmstrip onto the image, insert it as an image object, or use the Watermark tool. The watermark route is probably the nicest if you want to reuse the same logo on multiple pictures, because you can save it once and apply it again later, including during batch export.
The watermark position is anchor-based, so if you anchor it to the bottom-right corner, for example, the X/Y values are offsets from that corner rather than fixed image coordinates. That means it stays in the right place even if the image size changes.
The editor itself works on one image at a time. To switch, just double-click another image in the filmstrip or use the right-click menu. For a logo, though, you don’t need to open a second image first, just drag it in or insert the file.
And yes, your expectation about Save As is correct: all normal slider adjustments, including Dehaze, are carried over automatically. Those sliders do not need an Apply step. Only things like image size, canvas size, crop and warp have their own Apply button. From the filename, I’m wondering if it may have been Apply image size that was missed.
You were also right about the white text on orange being hard to read. I’ve changed that for the next version so those buttons use an orange outline and text instead of a filled orange background.
Take care of your eyes, and thanks again for testing FerrumPix so carefully.
Patrick
5 Likes
Patrick, I’m pretty sure I used Ctrl + A, Ctrl + C, Ctrl +V in 0.9.48 FP in a VM of UbuntuMATE 26.04 and ir worked. It was on the same image and i flipped the new layer horizontally and changed the opacity to 50%. I’m now using UbuntuMint 22.3 with the MATE DE - also in a VM (i like its theme better). I don’t know if the clipboard is effected, but it is the same machine {win11 host)
I get no indication, nor can I find a menu for “select All” though I coulda swore I saw it off a right click once. So, no joy on pasting a png (supports tranparency) logo onto the jpg image. However - LOTS-O-JOY over seeing OLE in your program Yeah. Worked just fine for one at a time application. I’ll have to check out your watermark area - eyes are tired.
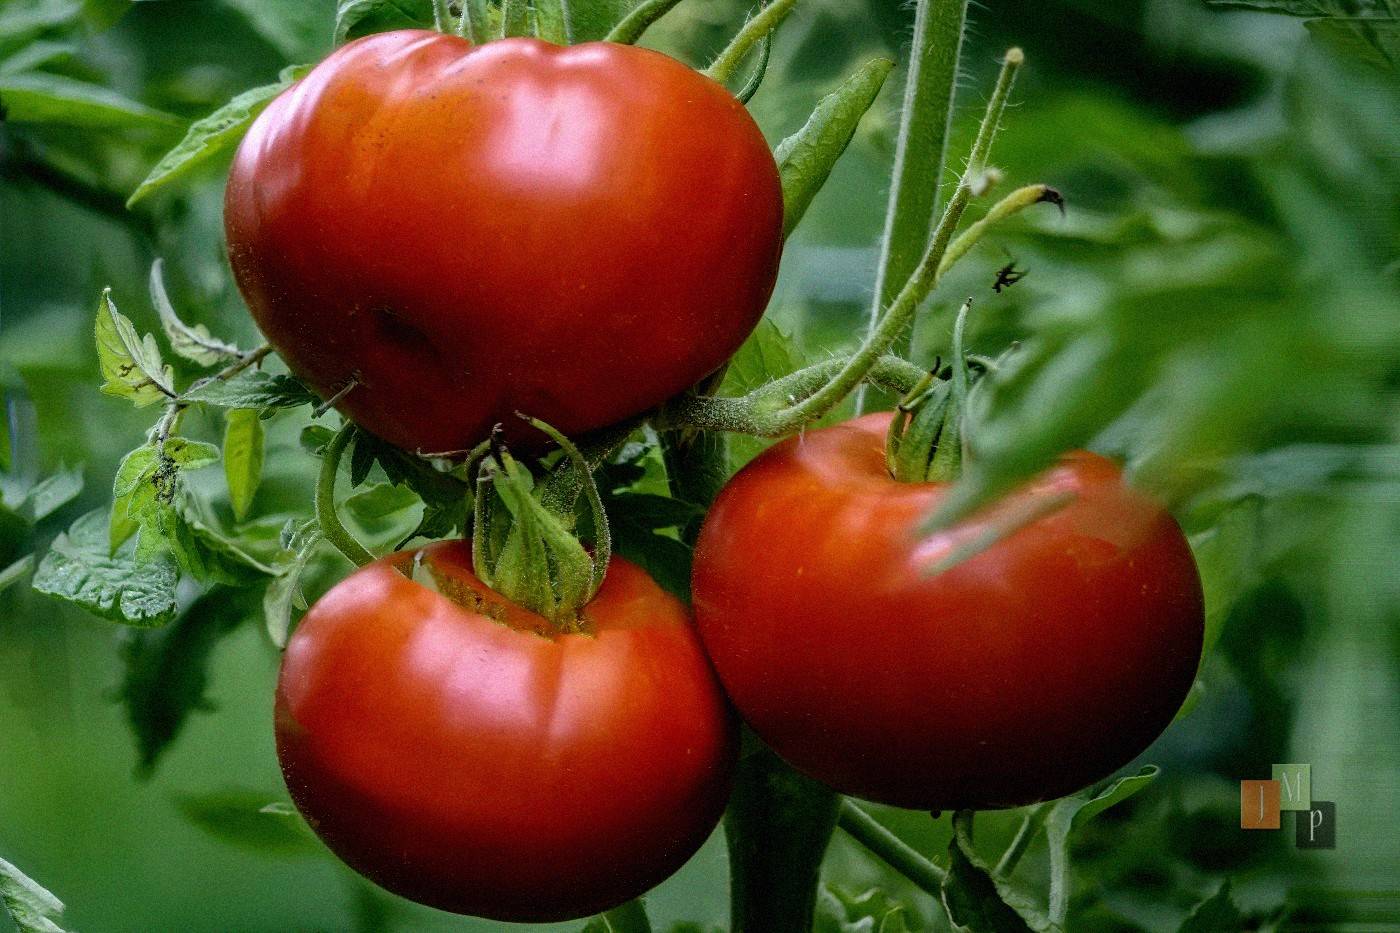
From my garden
Nikon D850 using a manual focus Nikkor 200mm f4 ais micro with a modified TC-16A (gives me partial AF) + a small focus stack pf 4-5 images
3 Likes
Hi Jim,
that makes sense. On my KDE system, without a VM, copy and paste works as expected, so the VM/MATE clipboard path may indeed be part of the difference.
Good to hear that inserting the PNG as an image object worked in the meantime.
And I hope those tomatoes taste as good as they look in the photo 
Patrick
4 Likes
Hi everyone,
quick follow-up: FerrumPix 0.9.54 is now out
RAW development
- Optional camera-specific colour calibration can now give untouched RAW files a better starting point, tuned separately for many camera models. The values remain visible and editable in the Calibration controls, and the feature is off by default.
- Canon RAW handling received quite a bit of work. The EOS R6 Mark III now develops correctly , and many Canon cameras now use the black/white levels stored by the camera itself, improving brightness and highlight handling.
- Camera-dependent base brightness has also been improved and expanded to more models and older RAW formats.
AI denoise
- Automatic denoise strength can now measure the image and choose an appropriate amount instead of using one fixed value.
- The same denoise logic is available in batch/filter workflows and during export.
- Clean images can be left untouched automatically.
- The quick AI denoiser no longer produces coloured patterns in very dark, smooth areas.
- Automatic strength detection is more careful with small images and no longer mistakes fine detail for noise.
Gallery & workflow
- Gallery tiles are now configurable. You can choose which details appear below each thumbnail: date taken, camera, lens, exposure, dimensions, location and more.
- The default date under a thumbnail is now the actual capture date , not the filesystem modification date.
- The same selected details are also used in list view and filmstrip tooltips.
- A new Export button appears directly in the gallery when images are selected.
- Saved searches now populate immediately, even from folders that have never been opened before, and network-share scanning is faster.
- Favourites can have their own display names without renaming the underlying folder, album or search.
Editor improvements
- The editor filmstrip can now be browsed without immediately opening every image. Double-click or Enter opens the selected photo, and images can also be inserted as layers from there.
- Brush and mask strokes behave better with pens and tablets, including proper stroke endings and improved brush-size control.
- Tablet interaction with curves, colour wheels and sliders no longer scrolls the whole adjustment panel.
- Luminance and colour-range masks now keep their feathering editable when returning to the mask tool.
- Lens correction stays with the image it belongs to and is no longer copied accidentally with adjustments.
There are also a lot of smaller UI and metadata fixes, including cleaner info-panel layout, better keyboard navigation through gallery images and improved click targets.
Thanks again to everyone reporting the little things that make the workflow better.
4 Likes
Patrick,
Do you have a team writing these updates? This is a blast from my end.
The clipboard was the issue with cut and paste. I had a misbehaving cursor, and a Virtualbox mess. Once fixed all the settings went back to defaults. Now bidirectional clipboard is enabled in all the VMs, and all the Ferrumpix’s work properly for cut and paste, sorry.
I had to write a list of changes I noticed in your 0.9.54 update
-A History palette God bless you
-Found “flatten” (aka raster)
-Marching ants to indicate selections
-Again, your settings choices are amazing
Questions
-haven’t explored it yet, but is a history brush in your brushes, or plans?
-is upscale based on Genuine Fractals that OnOne bought from those monks? 
Noticed
-FerrumPix is truncating my file names. Is there a character limit?
-Sensor data (processing method?) ahd, dcb, & ppg - can you explain it to me like I’m a fifth grader?
-Noticed my watched folder photos being “indexed” after turning on the setting. Fast
Suggestion:
-Once a slider is clicked allow left/right arrow adjustments by 1 increment
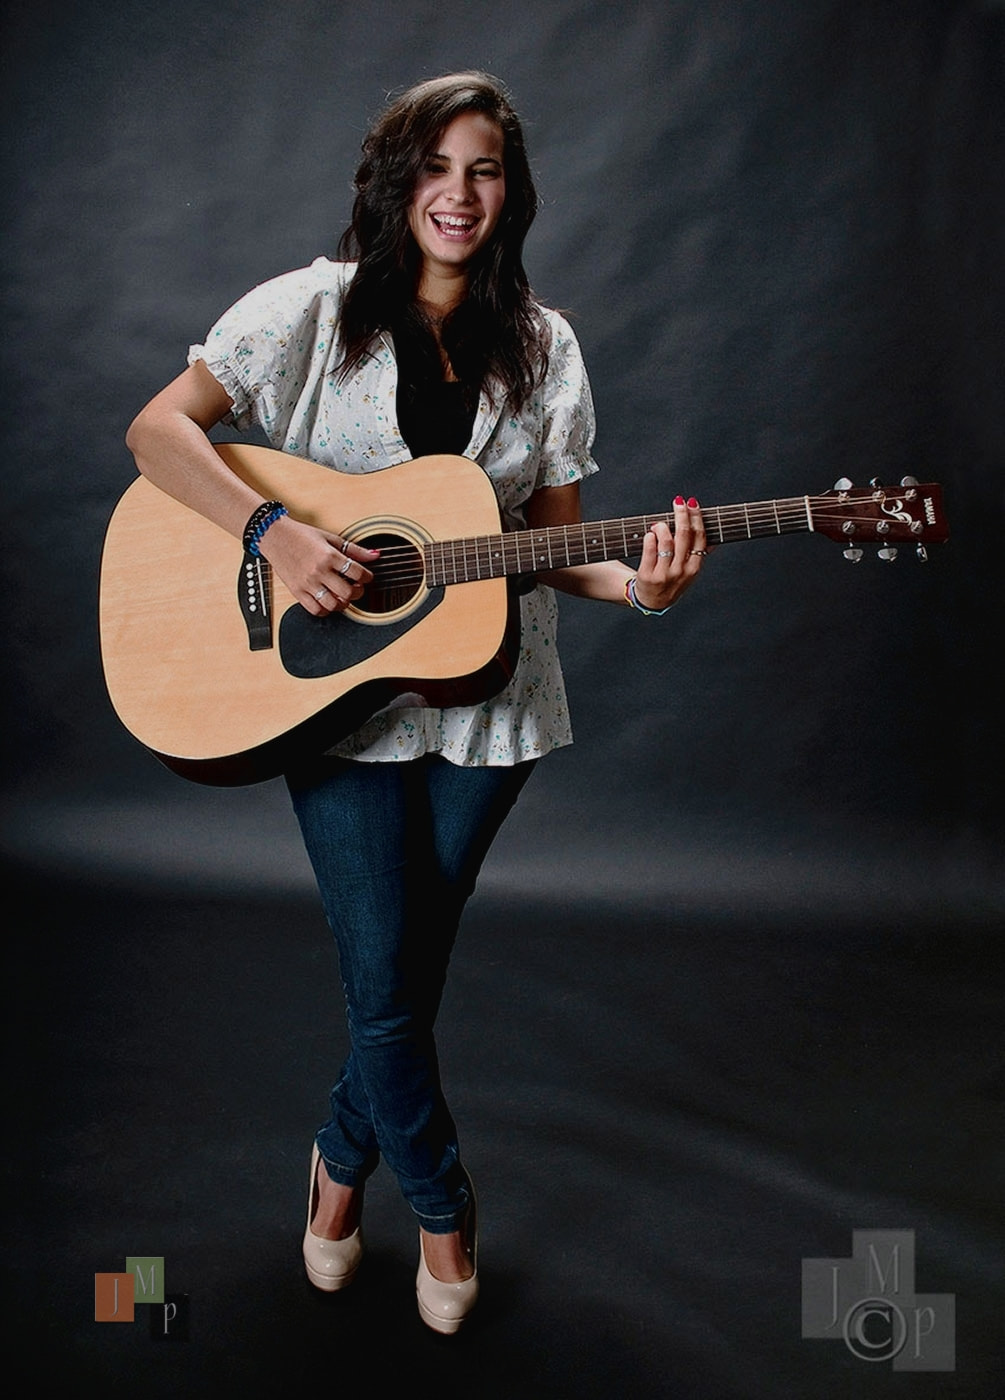
Here is a tweaked for highlights and 2nd watermarked image I played with this am
2 Likes
Hi,
A team? Sort of. I run a small crew of very eager AI assistants. They never sleep, never ask for a raise, and happily rewrite a function five times if I’m not happy with it. I bring the ideas and the coffee, they bring the typing speed. And honestly, many of the things you’re finding now have been in the app for a while; you’re probably just discovering them one by one.
Great to hear the clipboard works now, and thanks for the list, it’s good to know which changes people actually notice.
History brush: there isn’t one at the moment. The editor has brush, eraser, clone stamp, healing brush and smudge, plus the mask brush, but nothing that paints an earlier state back in. I’ve noted it as a suggestion.
Upscaling: no, it isn’t based on that. It uses a freely licensed AI model that runs locally on your machine, CPU or graphics card, nothing goes to a server. There are variants for photos, a faster one without a graphics card, one that keeps the grain, and one for drawings.
Truncated file names: there’s no character limit. Names are only shortened with “…” where they don’t fit, for example under a gallery tile or in the list. The full name is always in the info panel, where it wraps instead of being cut, and in the filmstrip it appears when you rest the mouse on a picture.
AHD, DCB and PPG, fifth-grade version: a camera sensor is like a chessboard of tiny light meters, and each one only sees one colour: red, green or blue. So every pixel knows just one of its three colours and has to guess the other two from its neighbours. AHD, DCB and PPG are three different ways of guessing:
- AHD is the default and a good middle ground between detail and speed.
- DCB guesses more carefully along edges, so fine detail comes out a little crisper, but it shows a bit more colour noise and takes about two and a half times as long.
- PPG is the quick one, about a fifth faster than AHD, with slightly less refined edges.
For most pictures you won’t see much difference; AHD is a safe choice.
Arrow keys on sliders: the slider itself works with the mouse: drag it, use the mouse wheel for steps of 1, or double-click to reset it. For exact steps, use the number field right next to each slider. Click into it and:
- Up / Down change the value by 1,
- Shift + Up / Down take bigger steps,
- Page Up / Page Down work too,
- Enter applies a typed value, Esc discards it.
Cheers.
Btw: 0.9.54-4 is out
4 Likes
I’m pretty sure you used them, but I’m much more impressed with the tomatoes in your garden - at least if they REALLY ARE from YOUR garden! 
3 Likes
Brian, they came from the two raised boxes on the left. This was shot with a mid 1960s half frame film camera called the Olympus Pen-FT and I adapted a Kodak reflex lens made in Stuggart - the 35mm f2.8 Schneider-Kreuznach from the same era
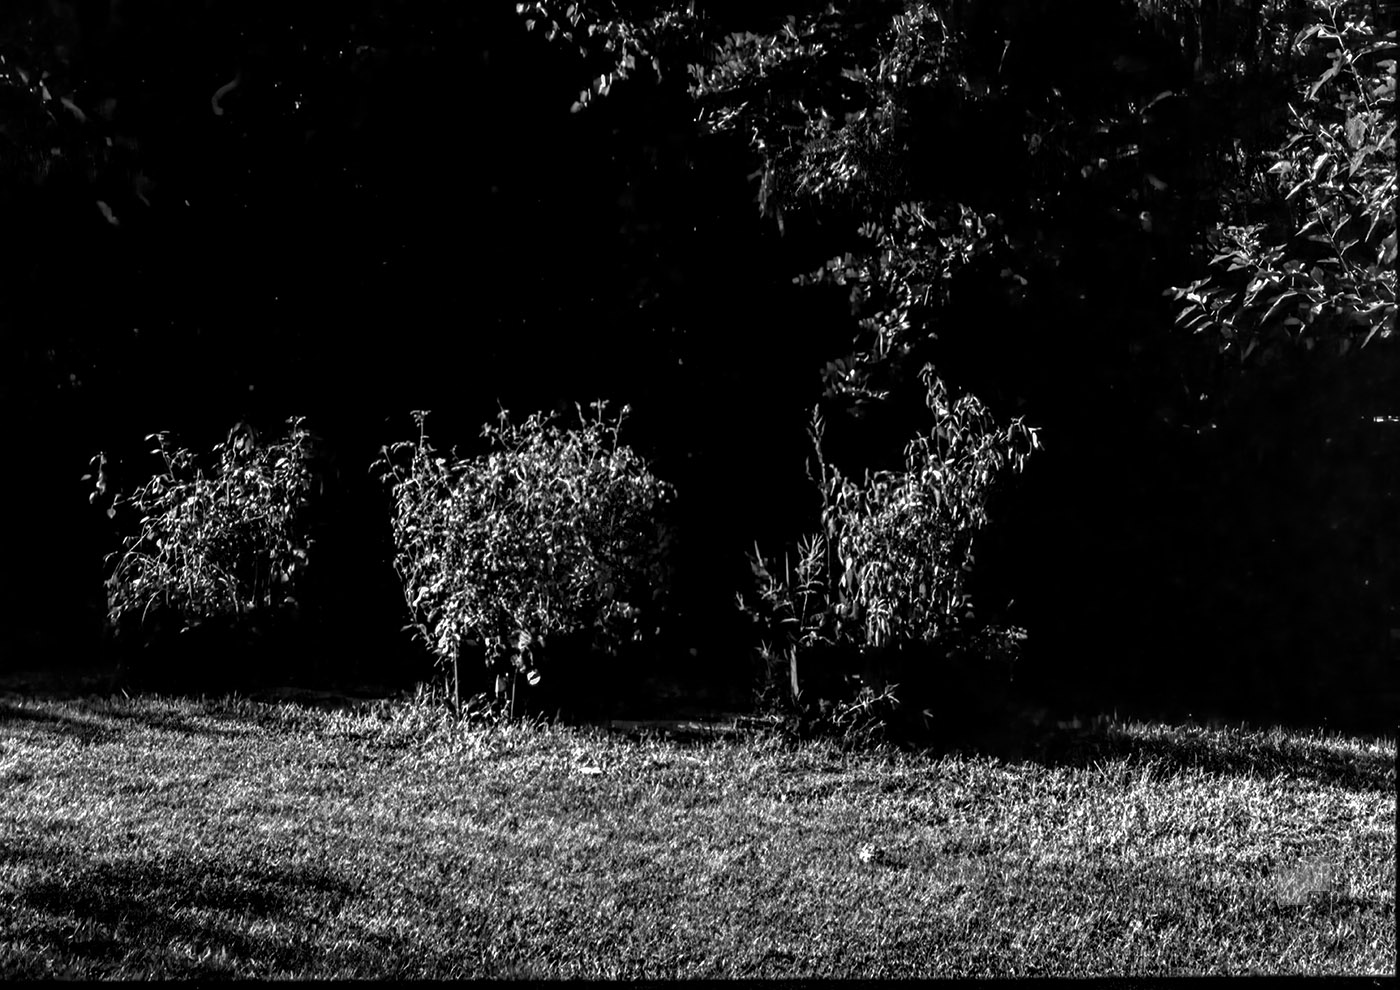 Edit_Pen-FT_35mm-f2.8-Schneider-Kreuznach–13-positive-Edit-nr by James Markus, on Flickr
3 Likes
Patrick,
I’m being critical, but I love what you have created in FerrumPix. If this annoys you just let me know.
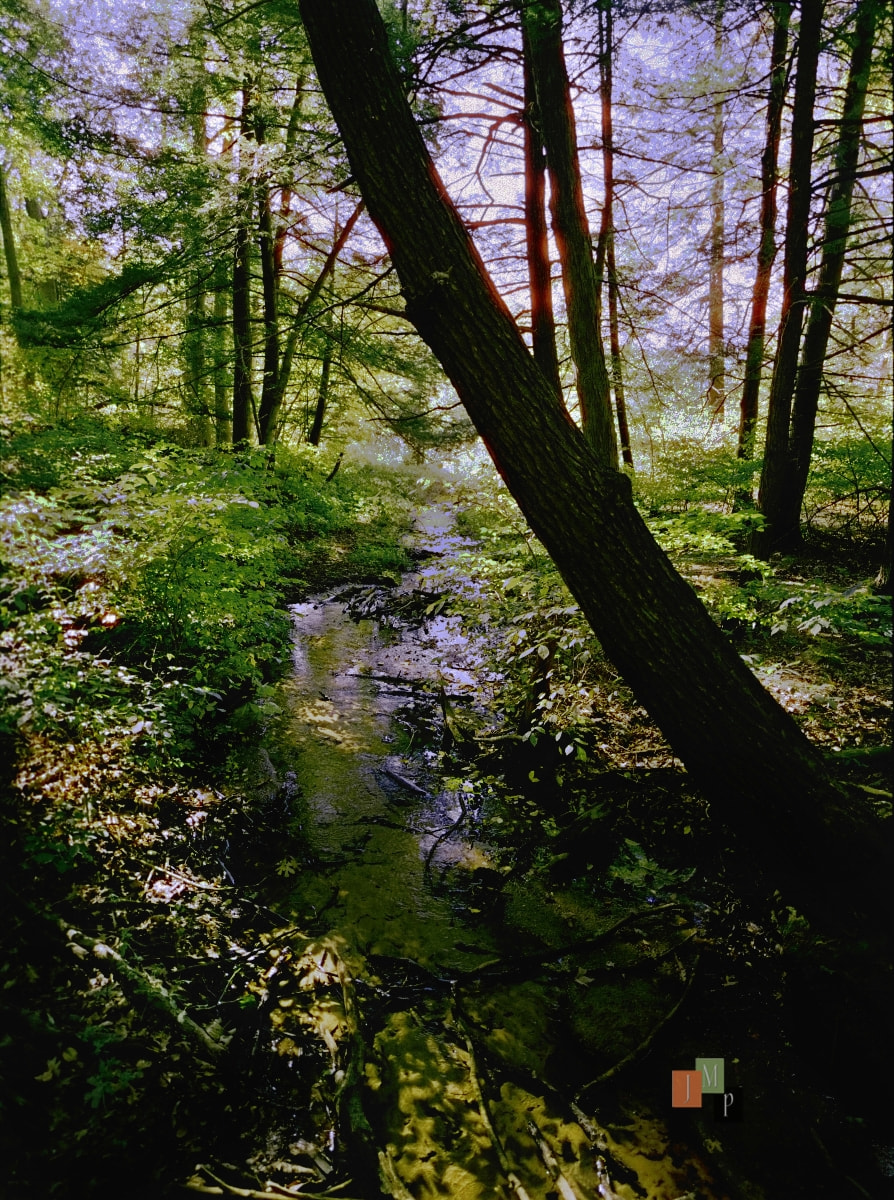
Tried a problem colour negative today. Green light, massive chromatic aberration, but a beautiful peaceful spot I found in the woods 1-2 years ago. I used the color eyedropper for the film base (Cinestill 50D), and it converted pretty much as I expected - poor. Not even NLP converts this one correctly. However, it is worth the effort. I looked for “blending modes” and they are there. ctrl+a, ctrl+c, ctrl+v drops an unaligned (why?) second layer. I aligned it, and got the biggest *only 500 pixels (up to 5000 would be better) softest, eraser brush, and began erasing that top layer in 25% opacity brush strokes. I was able to lighten the shadows this way. Repeated this process with the multiply blending mode to darken the lighter areas. This increases dynamic range closer to what my eyes saw without it being destructive to the image. I know these are proxies, but you can only push pixels so far, and this hack works.
Noticed:
-As soon as you erase from the top layer - the two layers become one layer in the palette, but the brush continues to act only upon the top layer?
-The history palette also seemed to lose track of the strokes, but the actual adjustments continued to accrue correctly.
This was my way to hack a history brush by creating an adjustment I wanted, and erasing the negative effects it made on other parts of the image that I didn’t want to change. I used this technique back in the mid 1990s with Photoshop v3.05 and v4.01 which, i think came with a history brush.
I didn’t correct the chromatic aberration, but used WYSIWYG to desaturated magenta, and purple channels. Not elegant, but it works - kinda. Pentax 645N smc Pentax FA 35mm f3.5
3 Likes
Hi Jim,
no worries at all, feedback like this is exactly what i want to improve the App. Thanks for putting so much time into it!
You found a real bug with the paste. The copy was always shifted a little, and after Select all it could even end up partly outside the picture. In the new build it lands exactly where it came from, so your layers should line up right away. I also raised the brush size to 2000 while I was at it.
The history issue was a silly one: strokes on a layer were all listed as “smudge”, so they looked lost even though they were there. That’s fixed too.
About the two layers turning into one in the layer panel: I tried to follow your steps but couldn’t get it to happen here. If you see it again, a screenshot would be great, maybe I’m missing a step.
And for the chromatic aberration, there are two new sliders in the lens correction (Red/Cyan and Blue/Yellow) that also work without a lens profile. Might be worth a try on that negative if you open the capture as a raw file. If it’s mostly purple edges around bright spots, your HSL trick is probably still the better way to go.
Take a look at 0.9.55 and lovely spot, by the way!
4 Likes
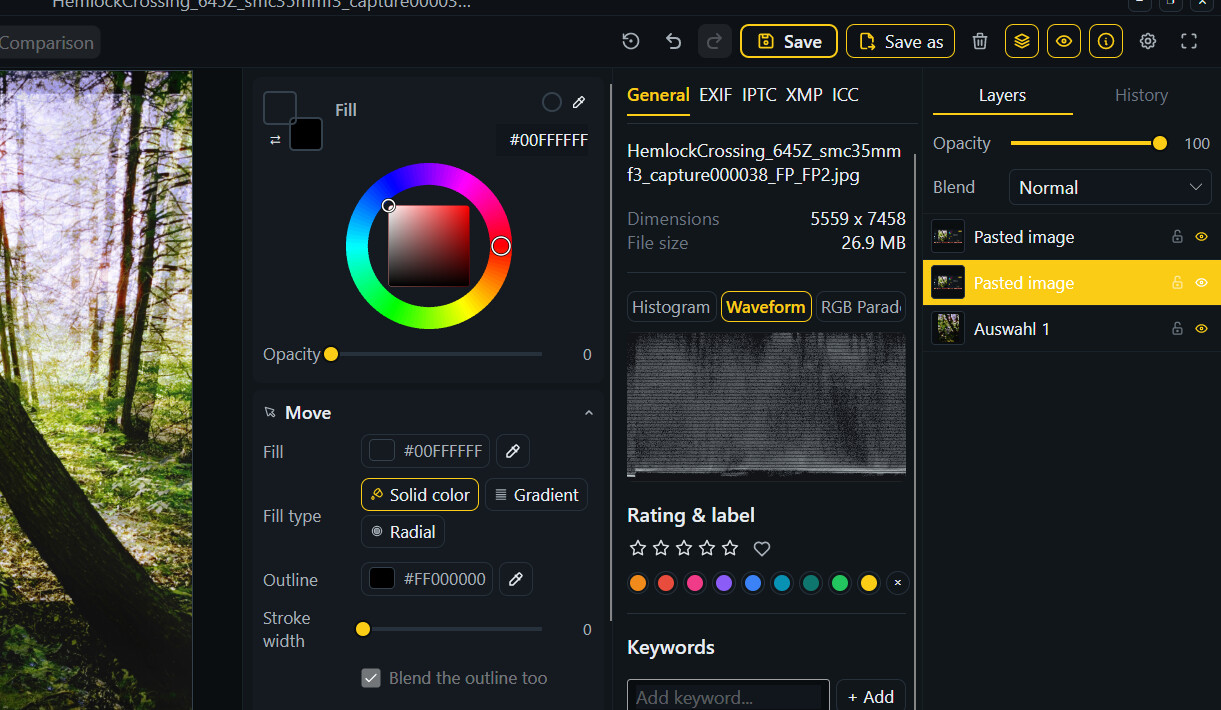
I noticed I didn’t mention the first blending mode was “screen”, but I think I figured out what is happening. There is no “background” layer shown in the palette, like in Ps - it is assumed to be there. When I paste it - it shows up as “selections” in German. And, subsequent pastes show up as “pasted Image” Hoping OLE is available there as well for re-ordering layers. Here is a screen capture of that corner. BTW (just thought of it) can I tear palettes off their default grouping, and group together the ones I use the most? For example: In Ps I made a grouping of Actions, History, Layers, & Channels on the right side, and Tools on the left.
2 Likes
Hi Jim,
thanks for the screenshot. The main image is always the bottom row of the layers panel, the small bar with three icons. The photo icon on the right is your background. It can’t be moved or deleted, only hidden. The two icons next to it stand for the global adjustments and for the retouch and brush strokes. So nothing got merged, you had three pasted layers sitting on top of the background.
The German “Auswahl 1” is a bug, that name slipped past the translation. The different names also show that your pastes took two different paths: the first one used FerrumPix’s own copy and landed in place, the later ones came back from the clipboard as a plain image and got centered. After Select all you won’t notice, but with a smaller selection those copies would end up in the wrong spot. I’ll have a look at both.
You can reorder layers by dragging them in the panel. Just grab a row by its thumbnail or name, not by the eye or lock icon.
Tearing panels off and building your own groups isn’t possible, and that’s on purpose: I want the layout to stay simple, with every panel always in the same place. But you can shape it a bit: the buttons in the toolbar show or hide the panels, and in the settings you can choose which adjustment groups appear in the editor and in which order the tool groups sit in the left bar. Hidden groups keep their values, so nothing you’ve set gets lost.
Two small things from 0.9.55 you might like, I use them a lot myself by now: CTRL+TAB and CTRL+SHIFT+TAB step through the tools (Adjust, Color, Details and so on) without going up to the tool bar, and an editor setting adds two buttons for that at the bottom of the adjustment panel. Another setting keeps the scroll bar of the adjustment panel always visible, which makes long panels a lot easier to move through.
4 Likes